CHICKEN ADOBO in COCA-COLA
23 Mar 2021
CHICKEN ADOBO
have you tried making recipes using sodas? i have used an orange soda to bake cakes before, a sprite for making prawns and dark beer for pot roasts, but a coke for filipino adobo? it's kind of new for me. but i've seen so many people have made this adobo so i have to try it. usually, a filipino adobo consists with just few ingredients, a soy sauce, vinegar, garlic, bay leaves and salt and pepper to taste. there are various ways to make an adobo, it really depends on how you like it to be. at the end of the day, it's your taste is what's important.
ingredients:
- 2 pcs chicken breasts (you can use any cut, bone-in is the best)
- 1 tbsp olive oil (any oil will do)
- ginger (depending on your taste)
- garlic (add lots if you like garlic)
- 1 can of small coca cola soda 7.5oz
- 4 pcs bay leaves
- 1/2 cup vinegar (lower to 1/4 if you are not a sour person)
- 1/4 cup soy sauce
- 1 tbsp brown sugar
- ground black pepper (to taste)
- salt (to taste)
directions:
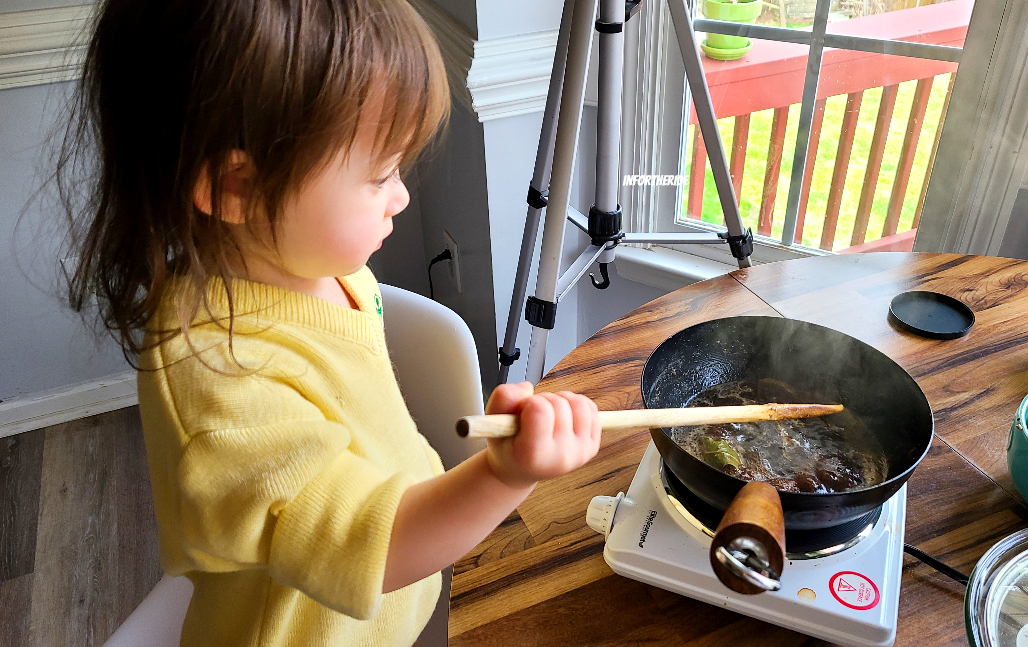
- heat a wok
- add the oil and sauté the ginger and garlic
- it's ready when you smell the aroma
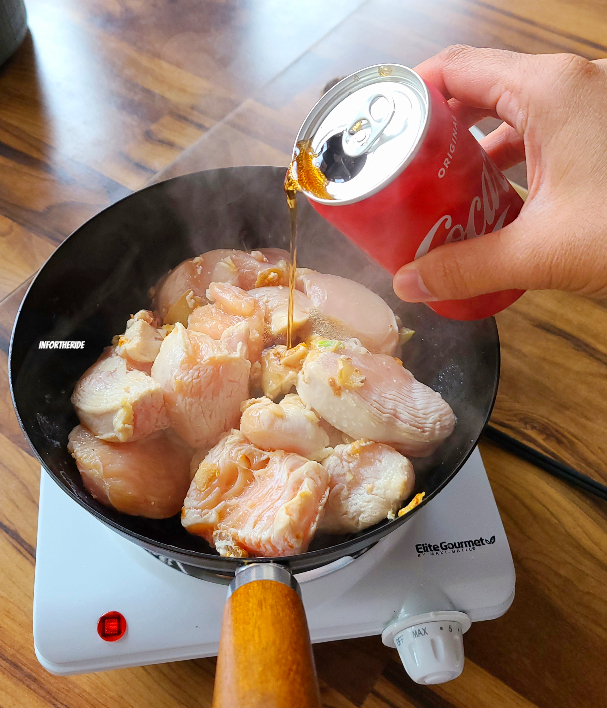
- then add the chicken and stir
- add the coca cola and stir slowly then cover and let the chicken cooked for about 25 to 30 minutes in medium heat. stir occasionally.
- once the chicken is cooked, remove from the wok and season the sauce
- add the bay leaves, vinegar, soy sauce, sugar, and black pepper. make sure you taste the sauce to your likeness.
- bring the sauce to a boil
- move the sauce to a safe bowl
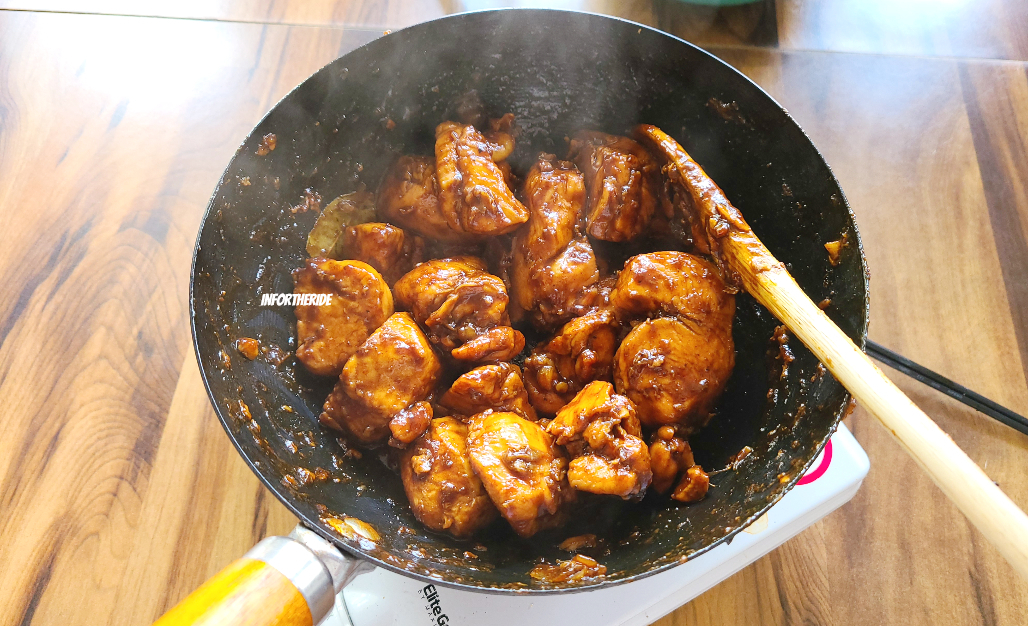
- place the cooked chicken back to the wok, then add the sauce. set the heat to high
- stir to combine then cover and let it simmer until the sauce thickened
- take the lid off and keep stirring until the sauce dried out
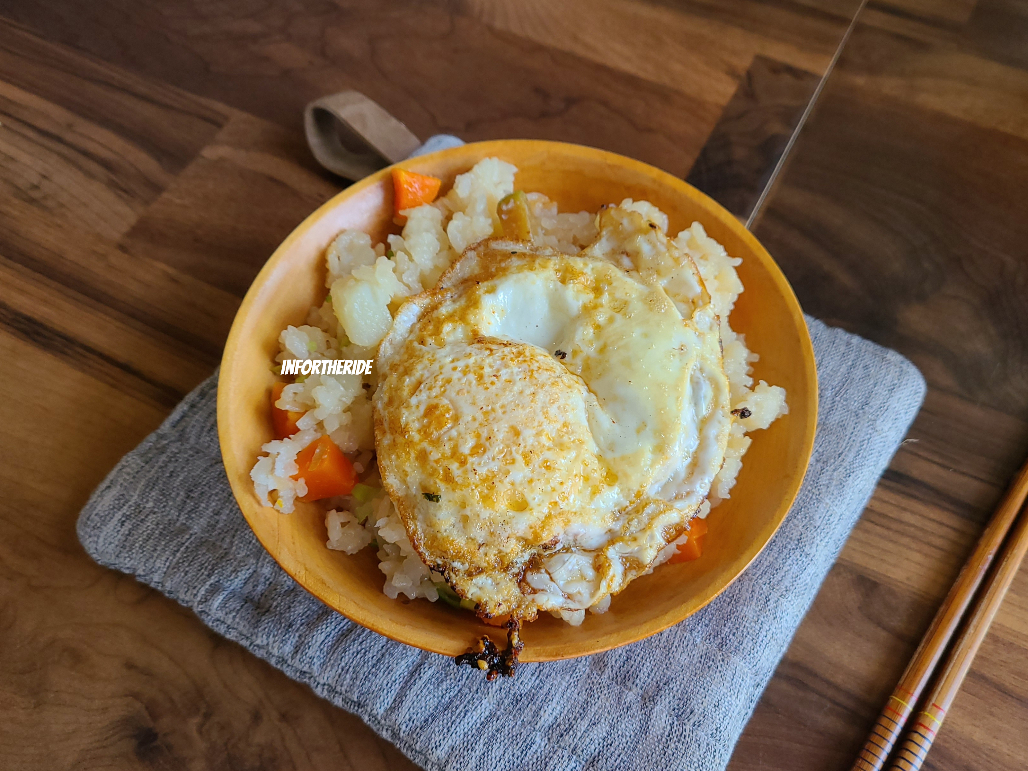
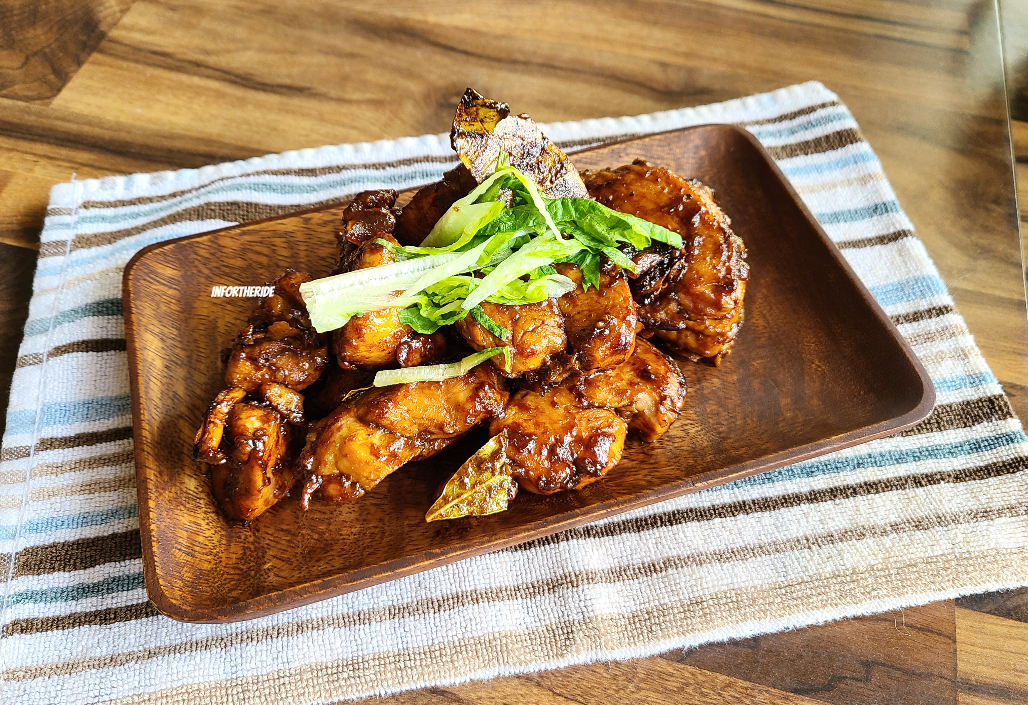
- and its ready to served!
enjoy and #happybaking
xo, s
- Read more about CHICKEN ADOBO in COCA-COLA
- Log in or register to post comments