sushi wrap


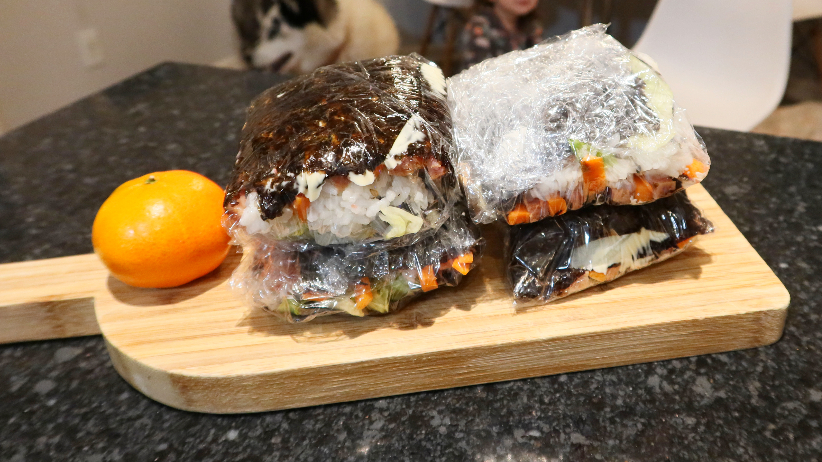
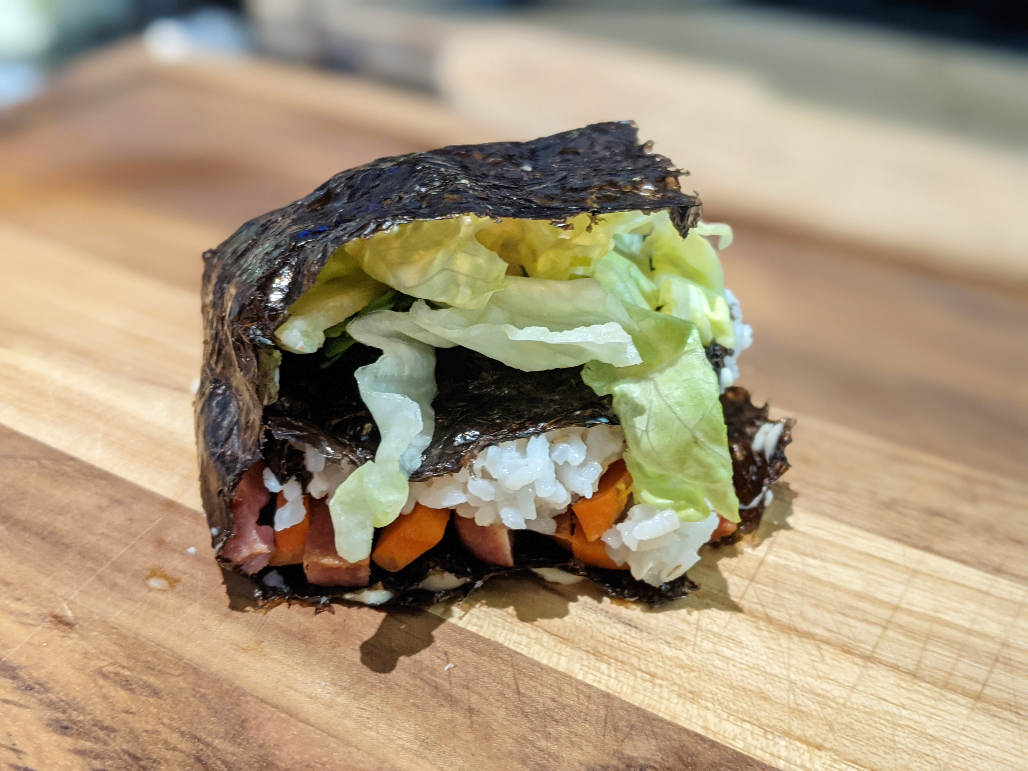
new crave from instagram! so of course i had to give it a try, and it turns out pretty good!


sushi


i chose to add spam to mine, other recipes contains some eggs and cheese, you can also add some different variation of vegetables, totally your call. :)

ingredients:

  • 3 cups warm rice
  • 1/4 cup unseasoned rice vinegar
  • 2 tbsp mirin
  • 1 packet of any rice seasoning (optional)
  • 1 tsp salt
  • lettuce
  • carrots (sliced lengthwise)
  • spam (sliced lengthwise)
  • nori
  • kewpie japanese mayonnaise
  • furikake (japanese rice seasoning)


sushi


directions:

  1. into a bowl of rice, add the rice vinegar, mirin, rice seasoning, and salt. then combine. set aside
  2. cut the lettuce, carrots and spam lengthwise. set aside
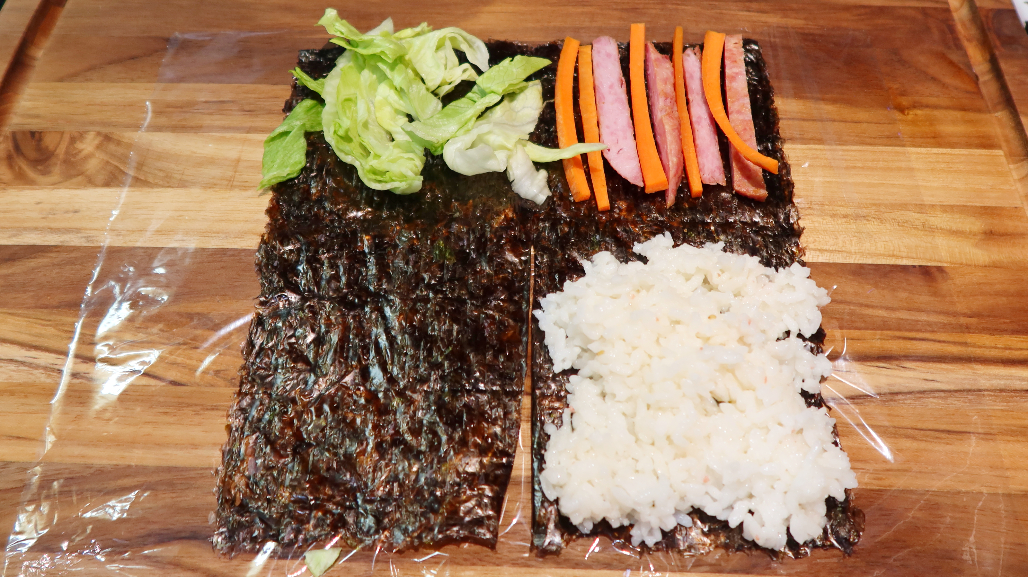
  3. place the nori in a flat surface, cut the nori halfway through. then add the rice on the first quarter part of nori, add the carrots and spam on the second quarter part, the lettuce on the third and the mayonnaise on the last part. or you can also do any order.
  4. you can eat the sushi wrap right away or wrap the sushi with plastic and enjoy the sushi during lunch or at picnic

#happycooking


xo, s


sushi


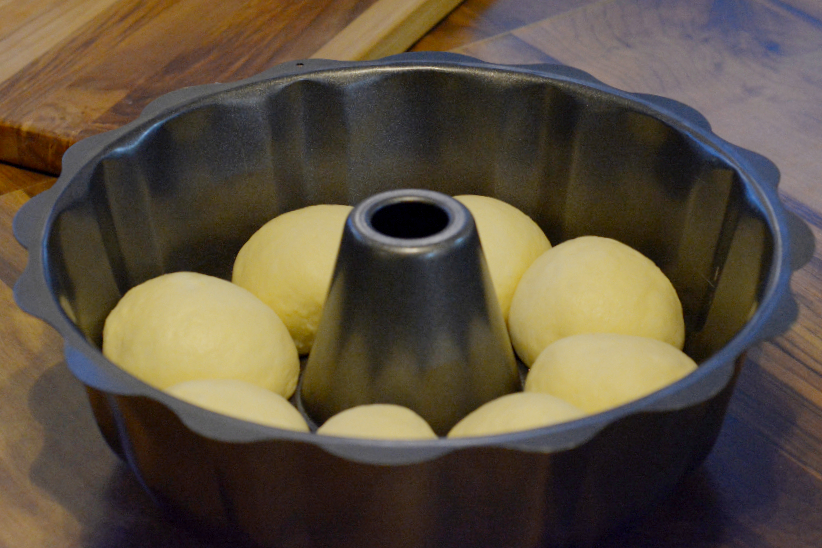
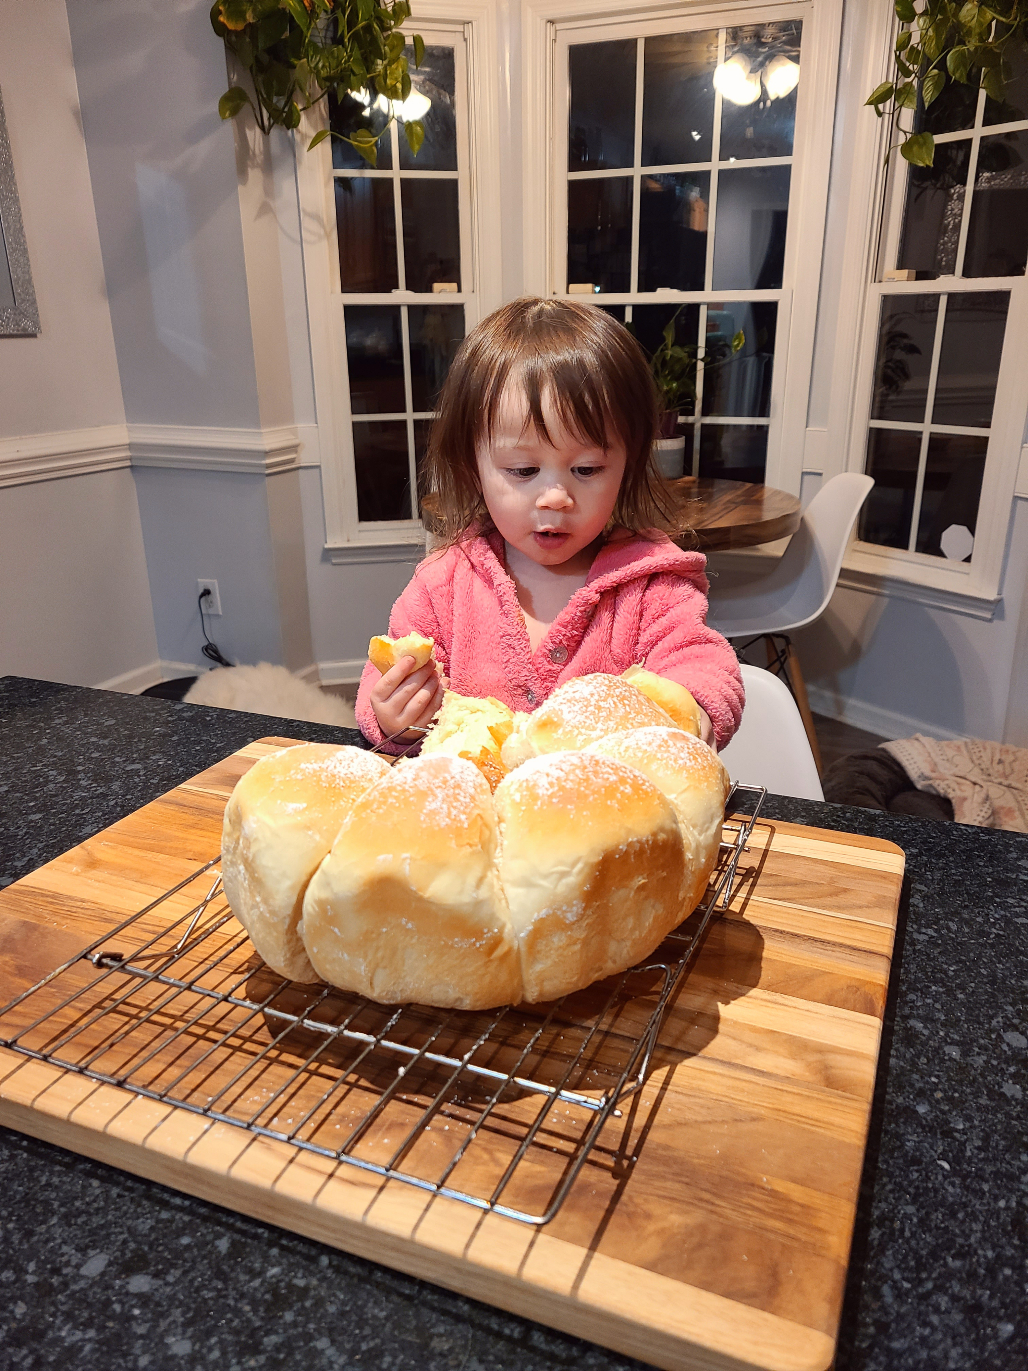
cream cheese dinner rolls


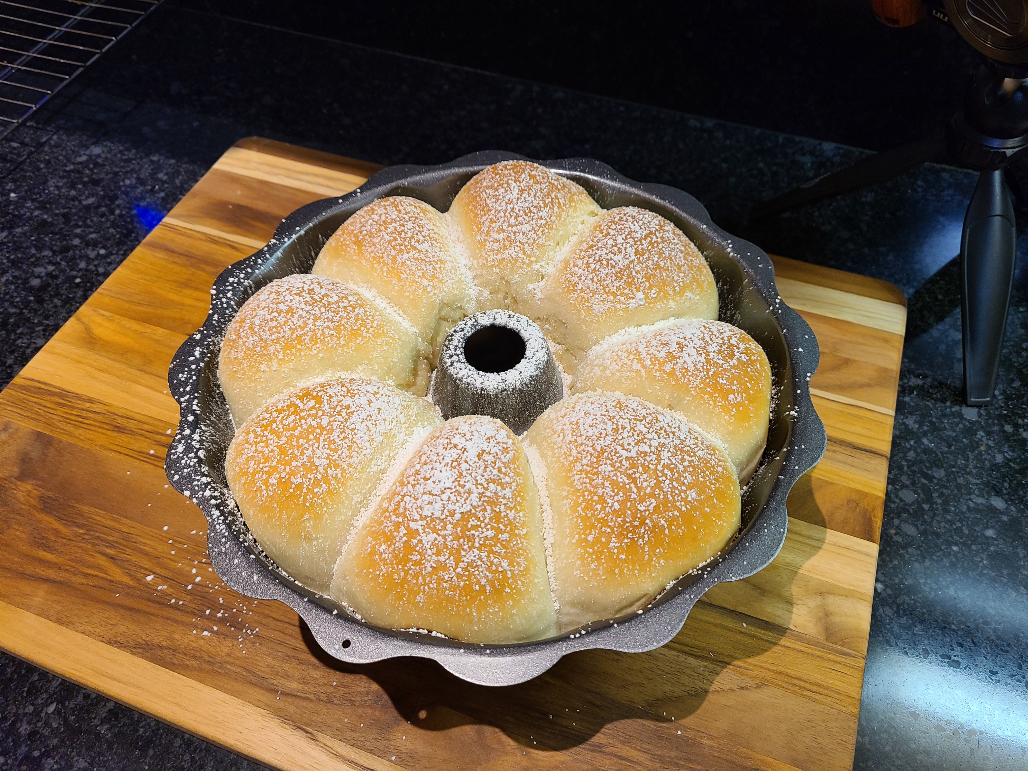
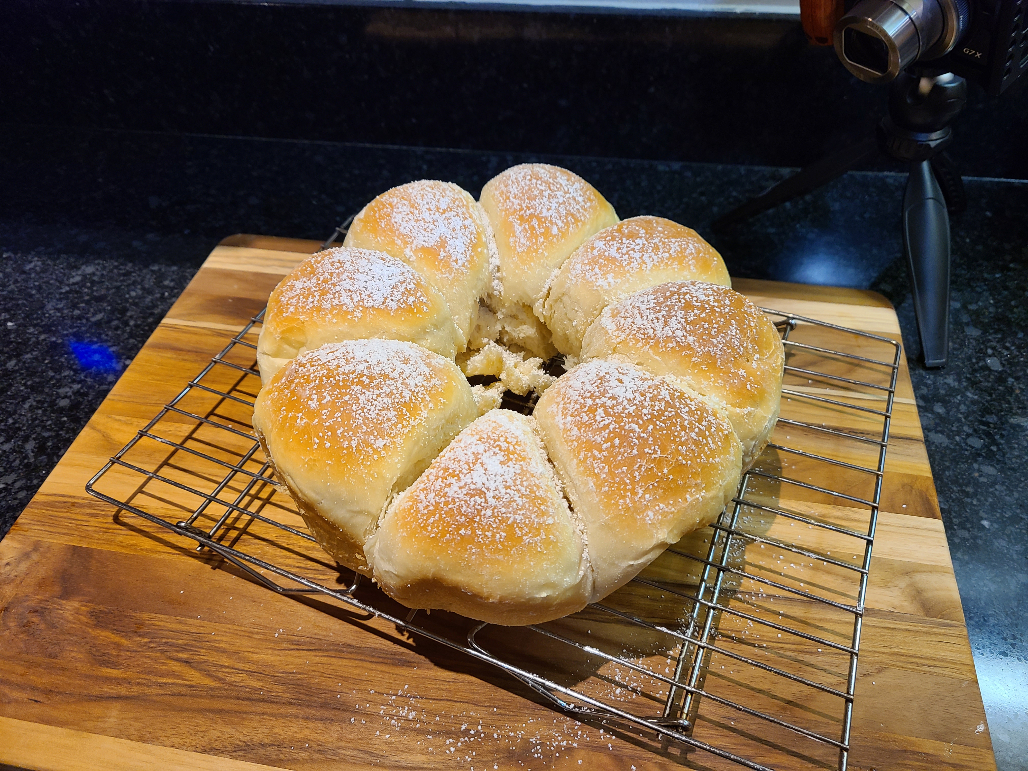
to be honest, this is no other different from any other rolls, just added a cream cheese for a little twist. you can serve this rolls for dinner, or make sandwiches. it's soft and creamy an not sweet!


cream cheese rolls


cream cheese1


ingredients:

  • 3/4 cup warm milk (about 110f-115f temp.) please always check the temperature, too hot will kill your yeast
  • 2 1/2 tsp yeast
  • 2 1/2 cup all purpose flour (more for dusting or if the dough is too wet
  • 1/4 cup sugar
  • 1 egg
  • 2 tbsp melted butter
  • 3 tbsp cream cheese softened
  • 2 tsp salt
  • powdered sugar


cream cheese3


directions:

  1. into a bowl, add yeast and milk. stir and set aside. let the yeast rise for 8 to 11 minutes
  2. into a different mixing bowl, add the flour, salt, sugar and stir
  3. when the yeast is ready, transfer the flour mixture into a stand mixer mixing bowl, add the yeast mixture, egg, melted butter and cream cheese. knead until the dough becomes soft (if the dough is super sticky, add flour a teaspoon at a time, if the dough is dry, add milk a teaspoon at a time) NOTE: a little bit of stickiness is okay, because the sticky the dough can turn out to be a great bread
  4. shape the dough into a ball
  5. add a little oil into the bowl, add the dough and cover with plastic wrap
  6. let the dough rise for 1 to 2 hours or until doubled in size (rising can vary on the temperature)
  7. once the dough is ready, divide into 8 pcs, or you can also make 12 if you want to
  8. shape the dough into a ball and add into a prepared baking pan
  9. cover again with plastic wrap and let the dough rise again for about 30 to 50 minutes or until doubled in size
  10. once the dough is ready, bake to 325F pre heated oven for 20 minutes
  11. cool down the bread before you sprinkle the powdered sugar on top
  12. and enjoy!


sugar plum


thank you guys so much for visiting! please don't forget to share!

xo, s


places to visit in north carolina mountains


we visited the north carolina mountains in the beginning of fall (september 2020). we badly needed the trip, since the covid started we didn't really go anywhere at all except grocery shopping. we choose to go around fall because the weather was super nice, not too cold and not too hot either. just perfect.

if you are coming from fayetteville, nc or fort bragg, driving to asheville, nc or hendersonville, nc will take about 4 to 5 hours, depending on the traffic.

where we stayed:

  • we stayed at the lodge at flat rock in hendersonville nc. it's like 30 minutes away from asheville. we didn't really want to stay in asheville because we don't want to deal about the difficulty of parking, the traffic issue, etc. it is touristy area and we want to stay away from that especially the covid situation. the lodge is a very nice hotel, very friendly people and we just had a nice stay overall.


the lodge


the lodge

here is the link to the hotel: https://www.mountainlodgeflatrock.com

where we ate/drink:

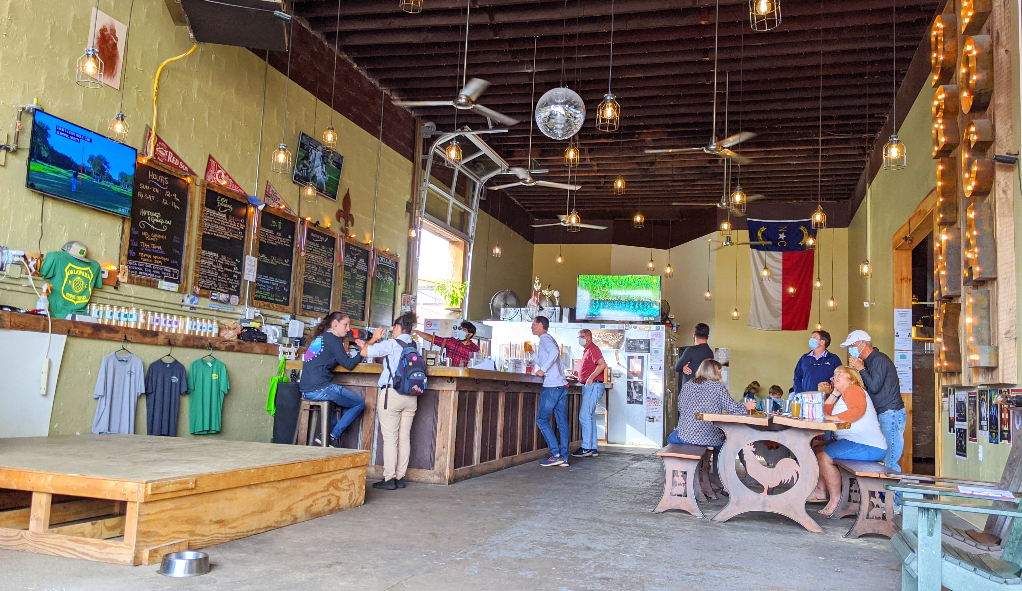
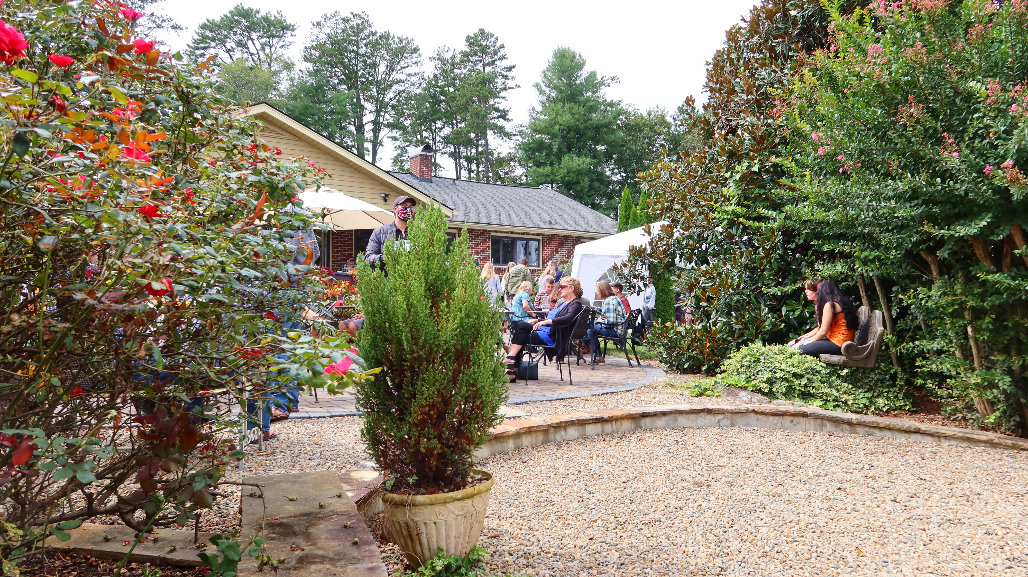
  • go to oklawaha brewing company- for some reason i felt home at this place, everyone has a smile on their faces, and stayed focus on 6 feet away policy, kid friendly and animal friendly. it was just HOME.
brewing company


brewery


the brewery

https://oklawahabrewing.com/#

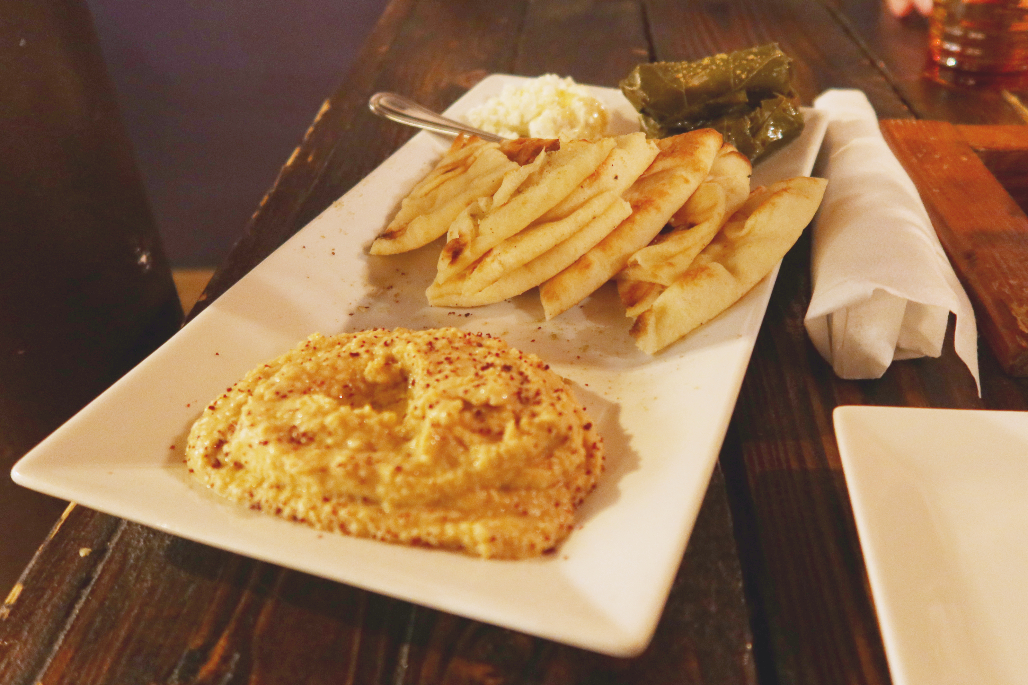
  • the poe house is also amazing! we went twice to eat and drink. get the hummus plate and pizza, they are so delicious! it has an amazing vibes and everyone is friendly. we went twice for dinner because we couldn't get enough of how delicious their food.
poe


poe

 https://thepoehousehvl.com/menu

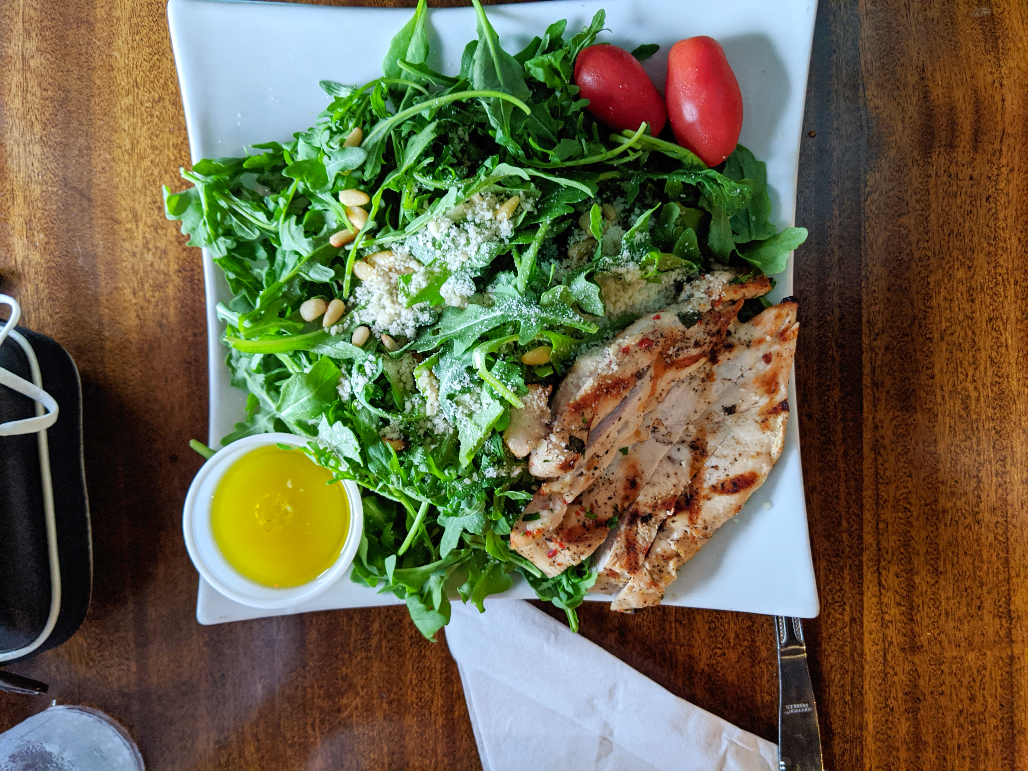
  • check out the mezzaluna tap house too, nice ambiance, we had a great time dining in there. the people are super nice and the food was excellent!
luna

 https://bit.ly/3q3GVOc


  • burntshirt vineyards is also amazing! great wine selections, it was a bit crowded when we were there but other than that, i recommend going if you are a wine person! my husband loved it!

wine


wine


wine

https://burntshirtvineyards.com/hendersonville/

  • don't forget to check the falls, they have so many, we ended up going to the glass falls, its very pretty!
falls


falls


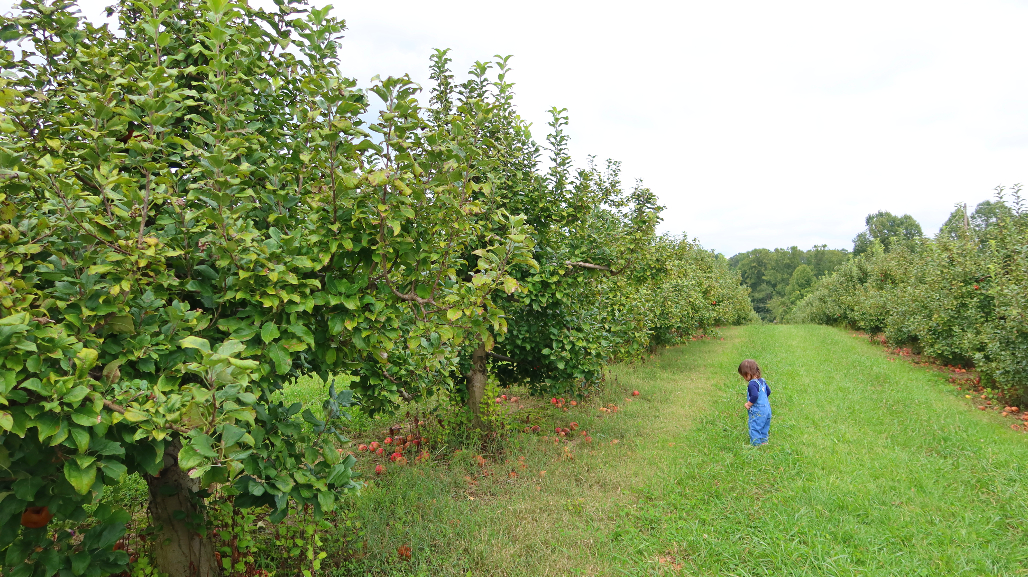
we also went apple picking and pumpkin patch, however,  i would not recommend doing that, although we had so much fun doing it, there were too many people, too many! Every orchard we went to were extremely crowded, and we got stuck into the traffic too which was horrible! We went on Saturday, i wasn't sure if it isn't too crowded on the weekdays though, so just a little heads up! 
apple


pumpkin


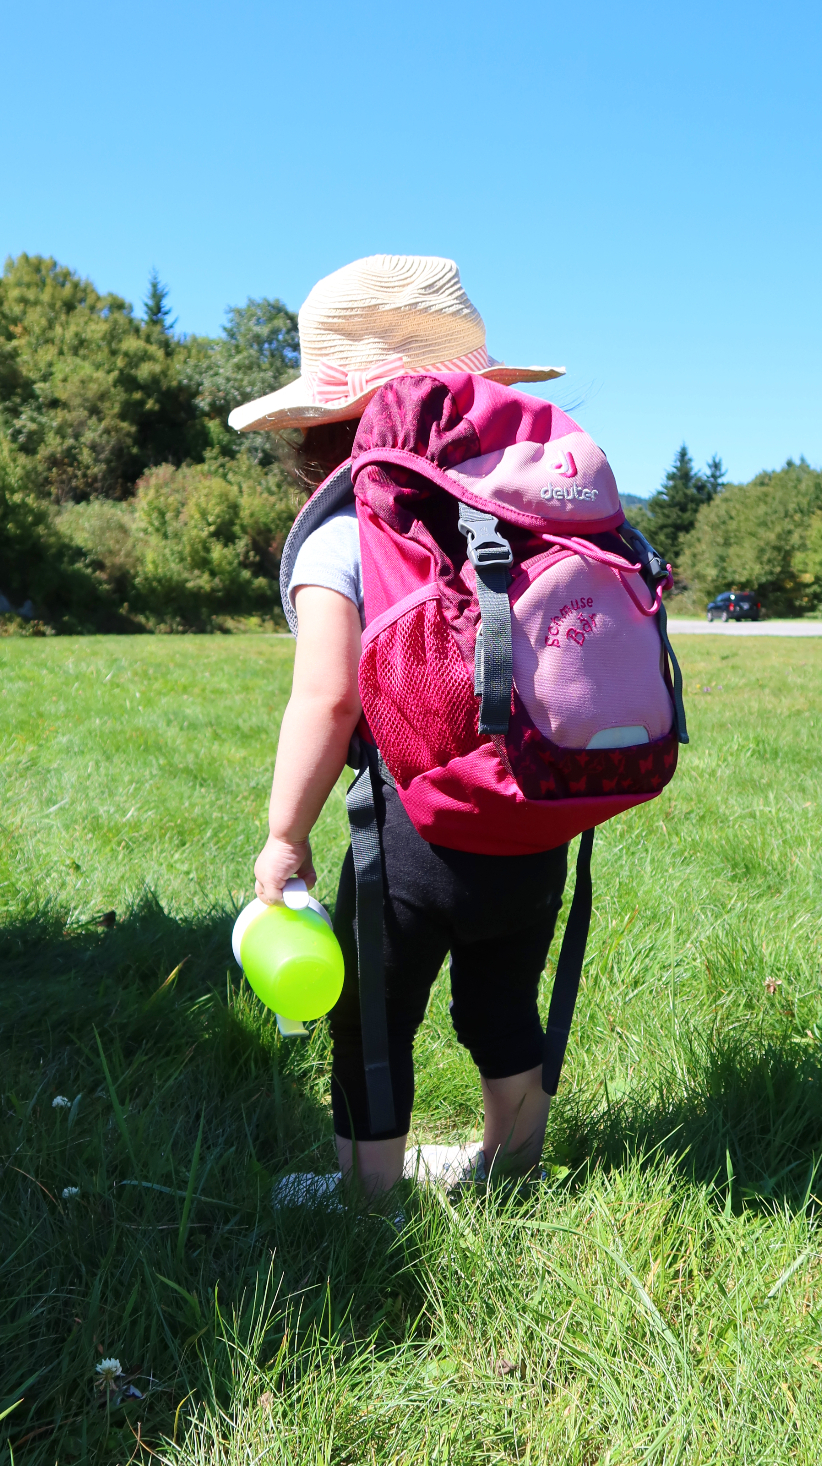
we started driving up into the top of the mountains, i suggest bringing these to your drive up!

  1. camping chair- it's great to bring one just in case you are dizzy from driving the narrow beautiful squiggly road, you can take a break to one of the peak and set up a picnic and enjoy the amazing mountain view
  2. food- bring some food to snacks on, you don't know when you get hungry so to enjoy the ride, fill yourself up! you don't want to feel hangry!
  3. water- you will need this! especially when you stop at one of the peak and decide to go for a quick hike which we did a couple of times.
  4. maps-- there were sections where our google maps stopped working, so just a heads up!
  5. and over all, just enjoy the ride!

when you get to the top of the mountain, there was a super long lines of cars parked. we got there at around noon and the parking was the worst. so i suggest going up there super early in the morning.

overall! the trip was amazing! just beyond beautiful!

here is the link to the other video from this trip: https://youtu.be/XwHcDUEEZhA


here are some more photos from the trip!


mountains


mountains


mountains


mountains


mountains


mountains


mountains


mountains


mountains


mountains


mountains


mountains


mountains


coffee crumbled cake


COFFEE CRUMBLED CAKE - i was craving for something that will remind me of home today, so i decided to make this cake, it was surprisingly really good. it tastes a little like chiffon cake but in a dryer side, i didn't use egg whites or vegetable oil for this cake, so it was interesting how it tastes like a chiffon cake. please don't get disappointed about the "dryer" side of the cake because the topping is super delicious, too! now, if you are not a fan of a dry cake, then this is not for you. but i gotta say, the toppings compliments the cake. it's a great combination. i enjoyed pairing the cake with coffee, tea or even ice cream. it's super delicious!

i recommend using a bigger cake mold for this recipe, i honestly thought it will fit in my baking cake pan but as you can see, it overflowed, but that didn't took away the deliciousness of this cake. :)

ingredients:

for the cake:

  • 1 cup sugar
  • 1 cup milk
  • 2 cups flour
  • 1 egg
  • 2 tsp baking powder
  • 1 stick softened butter (1/2 cup) softened
  • 1 tsp vanilla extract
  • 1/4 tsp salt

for the topping:

  • 1 cup (packed) brown sugar
  • 1/4 cup flour
  • 1 tsp ground cinnamon
  • 2 tsp instant coffee
  • 1 stick softened butter (1/2 cup)

directions:

  1. pre heat the oven to 350F
  2. spray the baking cake pan with a vegetable oil to prevent the cake from sticking
  3. into the mixing bowl, add the butter, sugar and combine
  4. then add the egg and mix using a hand mixer. you can also use a whisker too, it's your preference
  5. then add the milk and combine
  6. add the flour and mix. about a minute
  7. add the baking powder, vanilla extract and salt. mix all together about a minute. the batter should be thicker
  8. pour the cake batter into the prepared pan then flatten the top to even out. set aside
  9. for the topping, combine the brown sugar, flour, ground cinnamon, instant coffee and butter into a mixing bowl
  10. mix together until crumbly, but not over mixed
  11. place the topping mixture on top of the cake batter
  12. bake to 40 to 50 minutes or until the toothpick inserted in the middle of the cake comes out clean
  13. enjoy!

happy baking!

i will see you in my next blog post. please don't forget to follow us on all of our social media account for more recipes and food ideas. until next time, riders!

xo,s

ensaymada


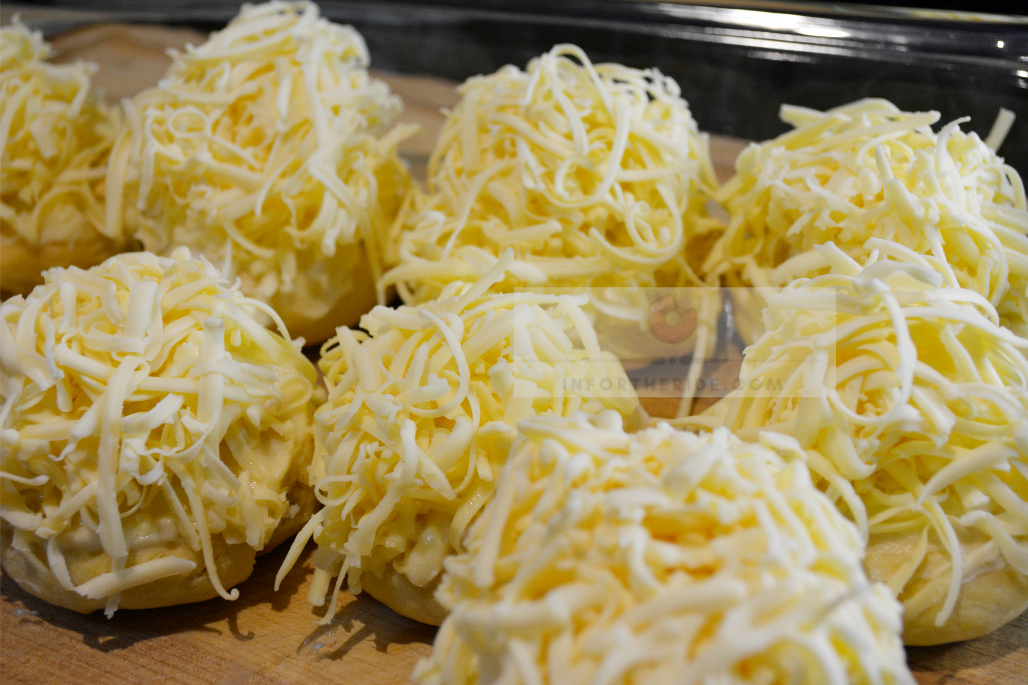
ENSAYMADA is a filipino bread that is soft, sweet and cheesy. it is originally from spain but with the philippines being colonized with the spain for over 333 years this bread became one of the most famous delicacies or bread in the philippines. there are so many ways on how to make this bread. famous bakeries in the philippines has their own ways of making the ensaymadas, and this is my own version. 


ensaymada


ensaymada


ingredients:

    for the dough:

  • 3/4 cup (luke warm milk) about 110-115F
  • 1 tsp sugar (for use for proofing the yeast)
  • 2 1/2 tsp instant dry yeast
  • 3 1/2 cups all purpose flour
  • 1/2 cup sugar
  • 1/2 tsp salt (i'm using himalayan salt, but regular salt is great, too)
  • 3 egg yolks
  • 1/2 cup softened butter (or 1 stick)

    for the topping:

  • 1/2 cup softened butter (or1 stick)
  • 1 cup powdered sugar
  • grated cheese ( i used the kraft eden cheese for this recipe, you can find them at your nearest filipino grocery store, otherwise american cheese will work too. but if you like a stronger cheese flavor, mild cheddar is good too)

directions:

  1. warm the milk  around 110 to 115F, if the milk is too hot you will kill your yeast. so please careful
  2. add sugar into the warm milk and stir
  3. add the yeast into the milk and stir. set aside. let the yeast rest until it bubbles and rise
  4. into a mixing bowl, add the flour, sugar, salt and combine
  5. pour the flour mixture into the stand mixer
  6. add the yeast mixture (making sure the yeast has risen before doing this)
  7. add the egg yolks then start kneading
  8. when the mixtures becomes a little crumbly, add the butter and continue kneading until the dough becomes soft
  9. transfer the dough into a bowl and cover with plastic wrap and let the dough rise for 2 to 3 hours or until doubled in size
  10. once the dough is ready move into a clean surface and deflate the dough
  11. shape the dough into a ball and divide the dough into 12 pieces
  12. flatten the dough and brush with softened butter
  13. roll the dough into a log (rolling side ways to create a longer log)
  14. then roll into a spiral shape tucked the end under
  15. move the bread into a baking pan lined with parchment paper
  16. cover the bread with plastic wrap and let the bread rest for another 30 to 45 minutes
  17. bake to pre heated oven 325F for 22 to 25 minutes
  18. while the bread is baking prepare the topping (combine the powdered sugar and softened butter)
  19. once the bread it out from the oven, let it cool down completely before adding the topping
  20. top with grated cheese
  21. and enjoy!

baked sushi

hi riders!

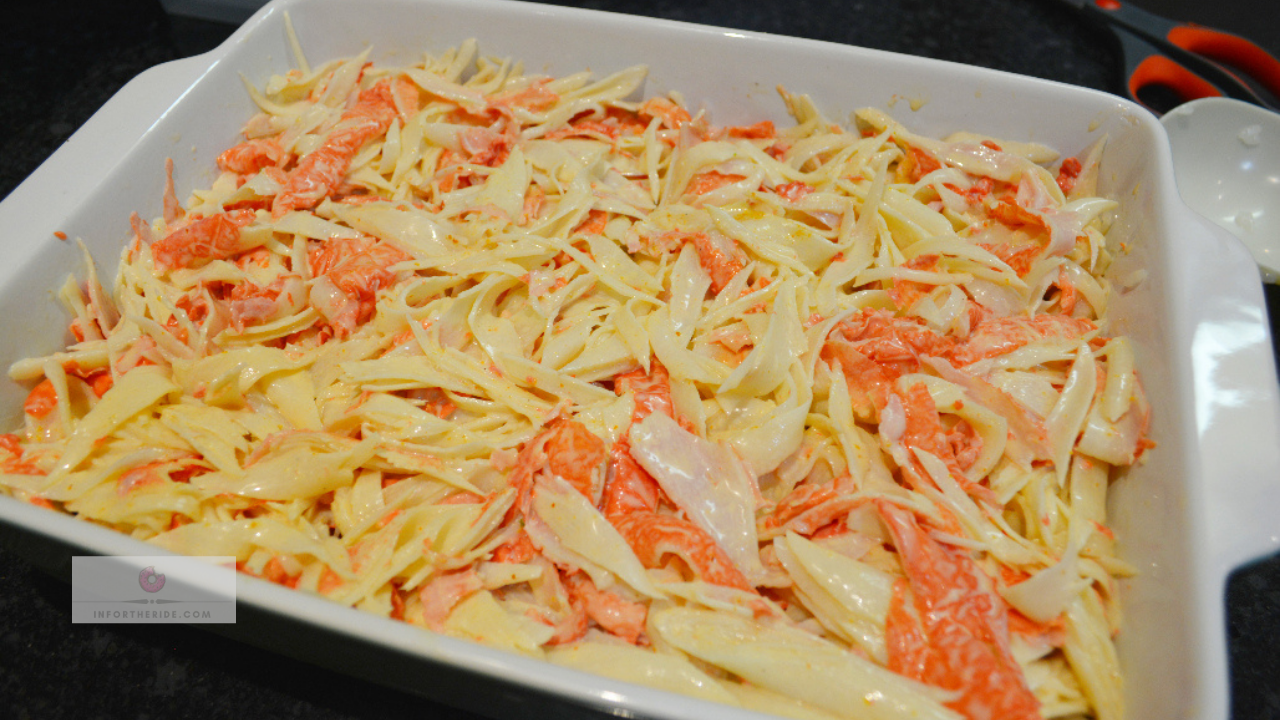
i found this new crazed recipe online called baked sushi. read a couple of blogs about it and decided to create one, i gathered all the simplest ingredients and it turned out so delicious. everyone in the house loved it. to make it vegetarian friendly, skip the baking and the crab meat. mix all the ingredients together and add a little soy sauce and enjoy! :)


crabmeat


crabmeat


crabmeat


ingredients:


directions:

  1. cook the rice
  2. shred the crab meat
  3. add the japanese white sauce and chili pepper and mix
  4. once the rice is cooked, transfer to a mixing bowl, add the sushi powder vinegar and mix
  5. move the mixed rice into a baking pan
  6. flatten the rice and sprinkle the roasted black seaweed on top
  7. pour the crab meat mix on top then spread out
  8. bake to 375F for 20 minutes
  9. serve with nori (dried seaweed)
  10. enjoy

this dish is super simple to make, really fast too! i can't wait to make this dish again! if you like this recipe, please share it to your friends!

happy cooking!

xo,s


small pantry organization

hello to all my lovely riders!

today, i am showing you how i organize my small pantry. i clean and organize my pantry so often but sometimes you just got to have those days where you go look for what you need and don't return to where you got it from. you know what i mean...?

purchasing some organization baskets or stackable stuff is not something i like to spend my money on, quite honestly. especially when i know that at any given time we could move somewhere due to the nature of my husband's job. most likely i will end up giving away the stuff that we have or donate to goodwill. :P


pntry
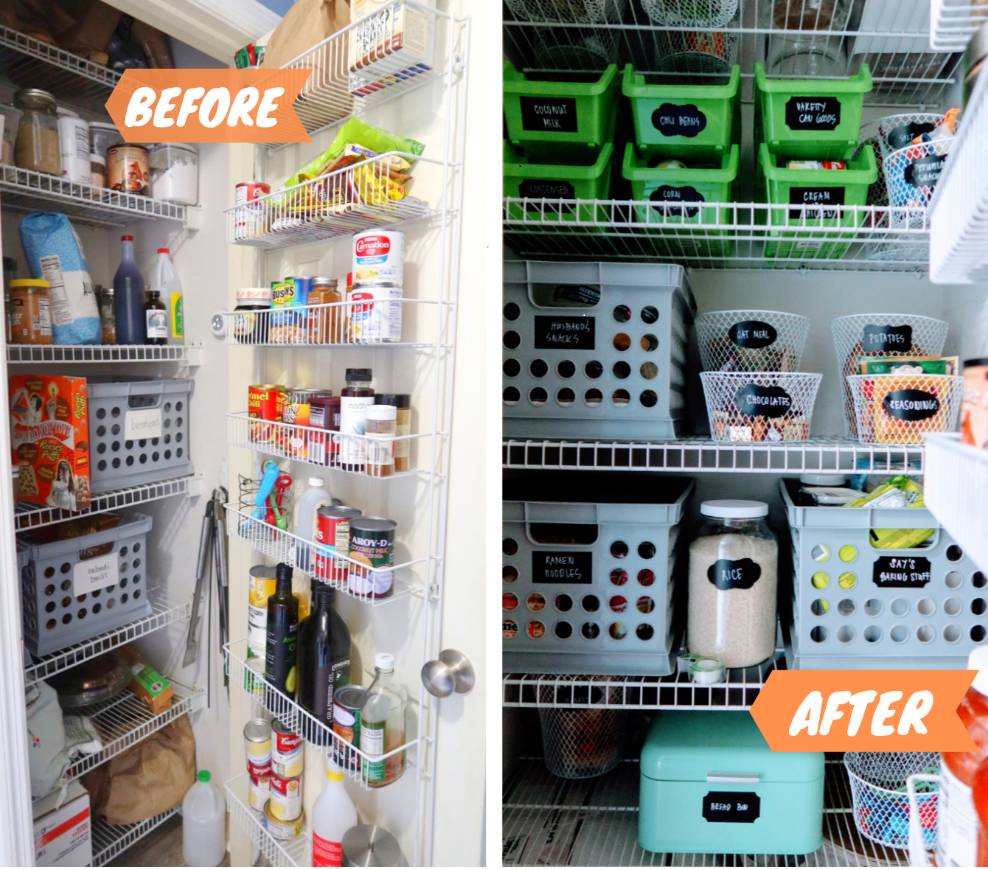
before and after pantry organized on a budget


so, i decided to organize my pantry on a budget. here is what i did.

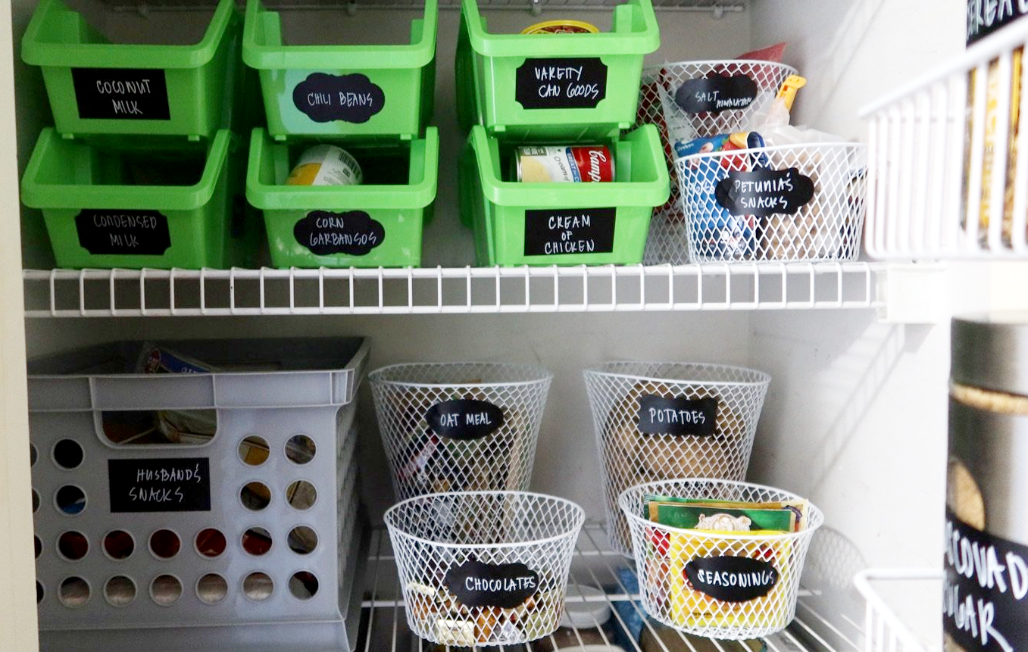
  • i went to a dollar store and purchased a couple of stackable and baskets that i'm sure will be useful for the limited space that i have, they came in different shapes and sizes.


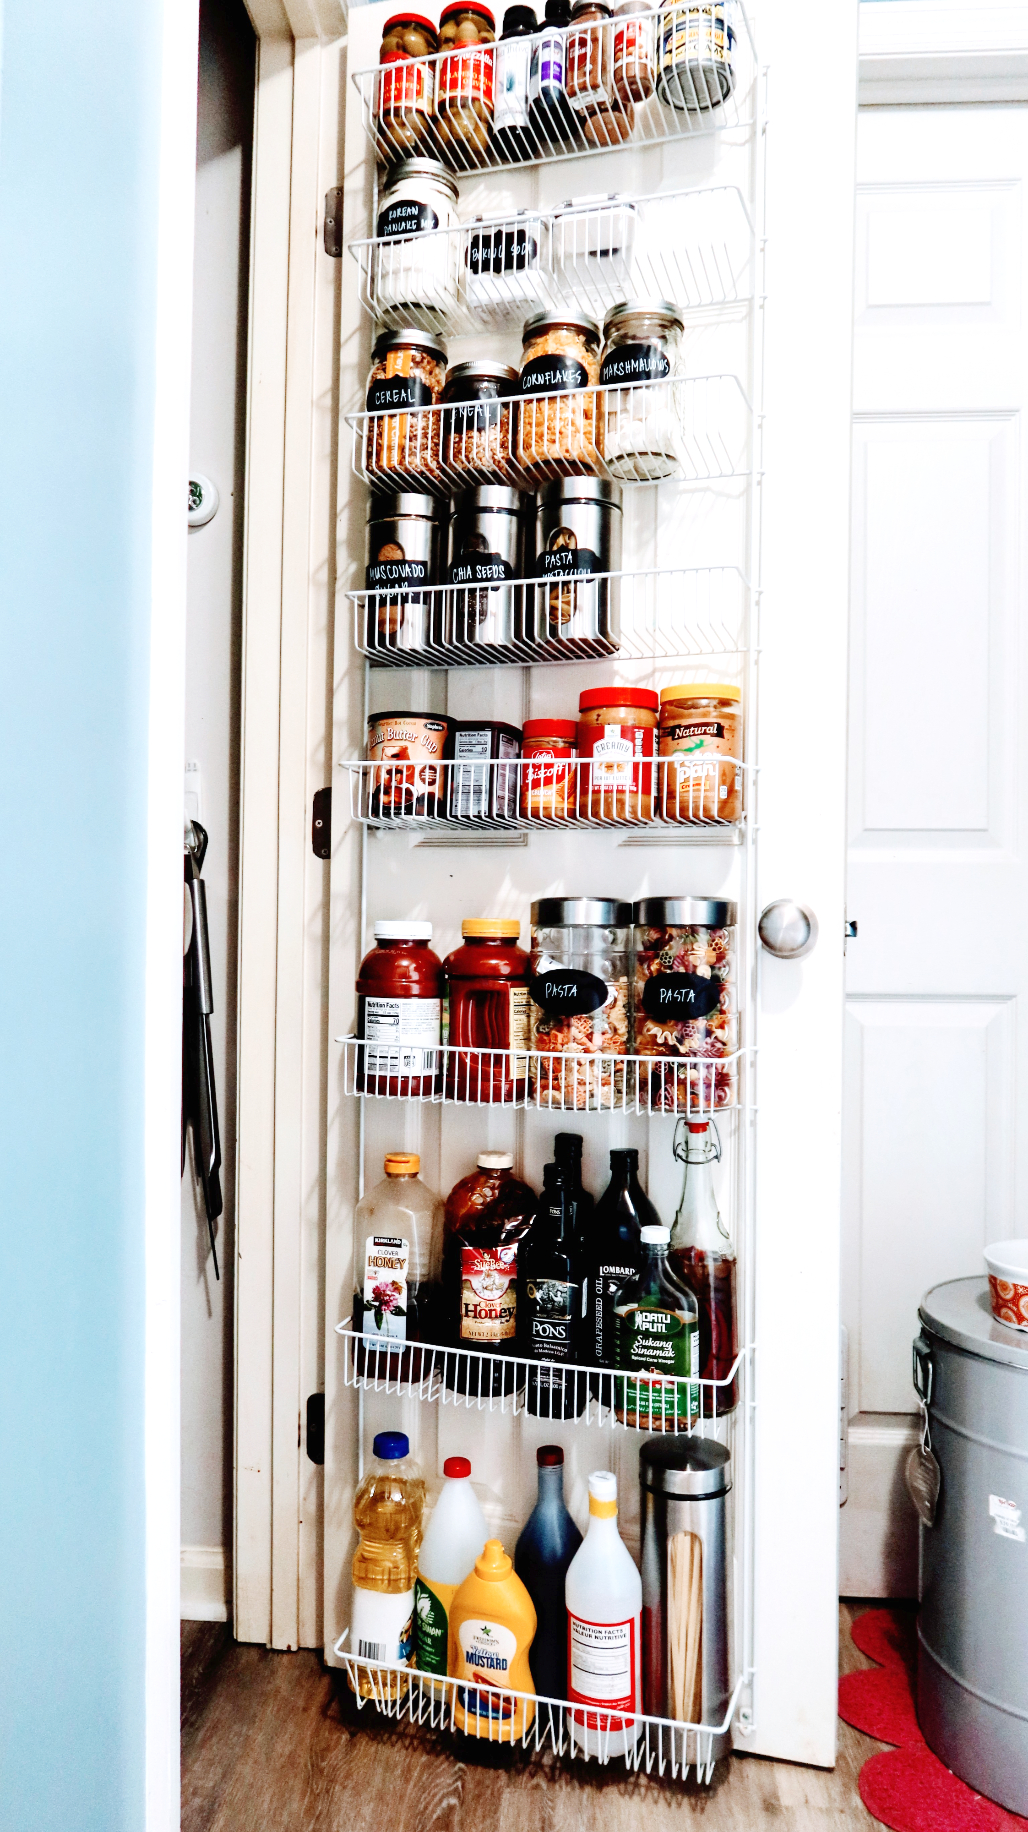
  • i also purchased a food label from amazon, this way it is easier for me to find what i need from the pantry. it also helps to label all those foods that i moved from the boxes to the jars, like cereals, marshmallows, pastas,-- sometimes, boxes could take up space so moving them into a jar, or containers will help you have more space in your pantry.


  • check all the food that sat in the pantry for so long, they might be expired, so it's about time to throw them away. i hate throwing food but it is necessary to do to avoid putting your self at risk. i didn't realized how much expired old stuff we have until i did an extreme pantry cleaning the other day, even i constantly organized the pantry. :P


pantry organization
labels added


so to recap,these are the things that i did.

  1. GET RID OF THE OLD EXPIRED STUFF
  2. INVEST/BUY ORGANIZATION BOXES, STACKABLE, JARS
  3. LABEL YOUR FOOD


pantry


pantry


i hope these ideas will help you out, if you ended up doing your pantry organization, i would like to see them so please tag me on instagram and or on facebook, i'd love to see them. 

i also have a video about organizing my small pantry. so please don't forget to check that our. :)

xoxo,s


dinner ideas

happy new year, riders!

welcome back! hope that everyone is staying positive and had a great holiday celebration! this year will be better than last year so smile, laugh, be happy and stay healthy!

i have another recipe video for you, i made quick dinner ideas that both non vegetarians and vegetarians will enjoy.

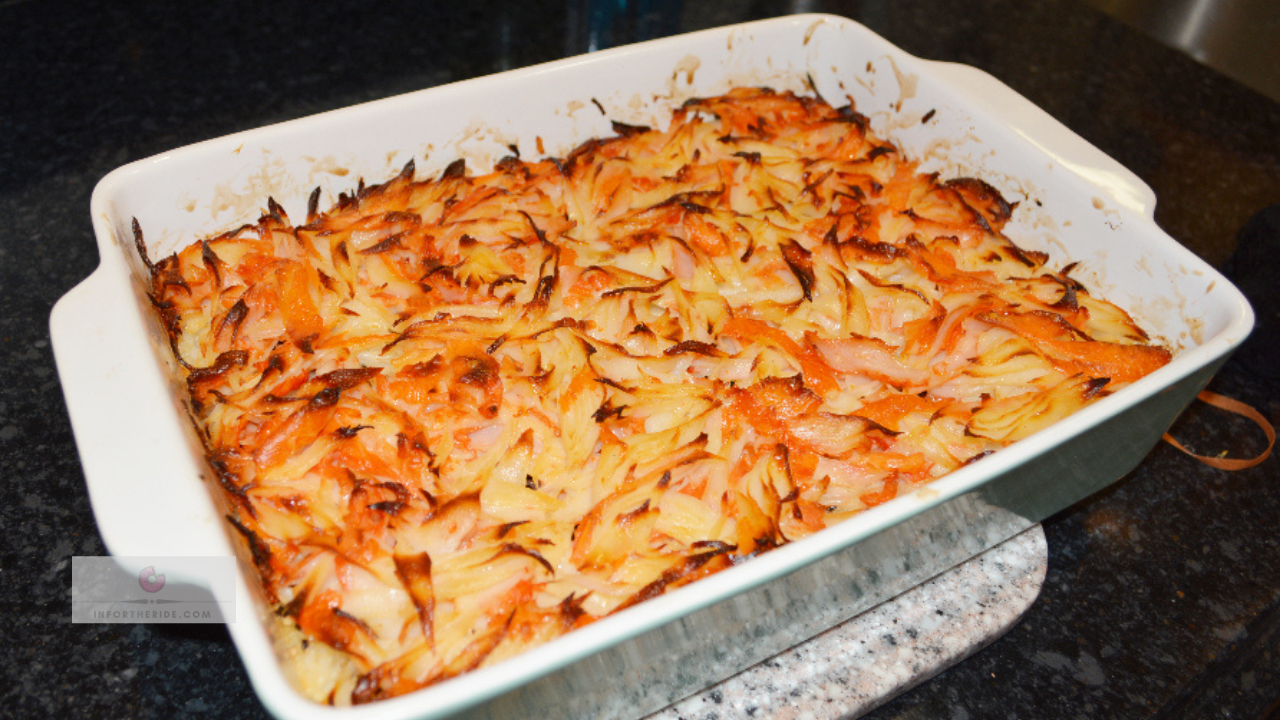
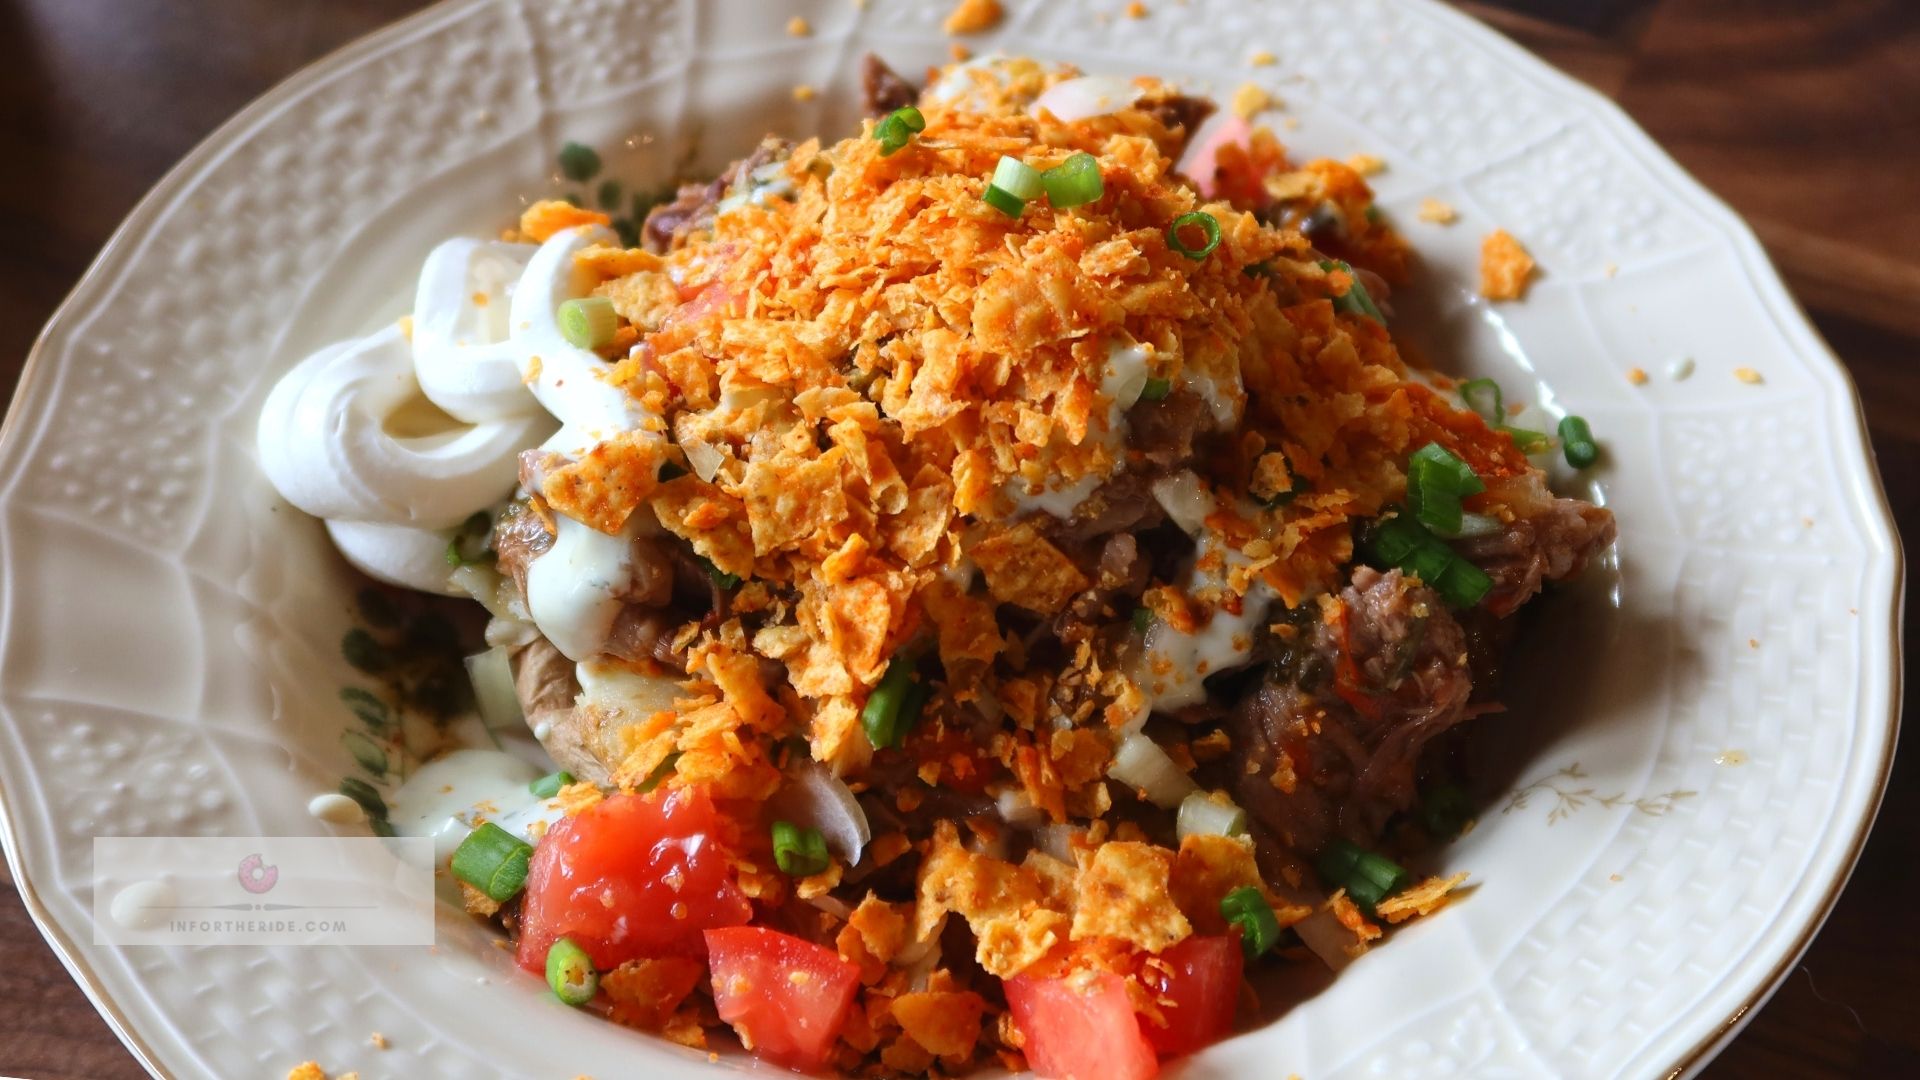
i first tried loaded potatoes when my mudra made it last christmas, i thought it was super delicious, you can literally add anything you want in it, it was so good that i crave about it EVERY.SINGLE.DAY.-- so please give it a try.


loaded potatoes


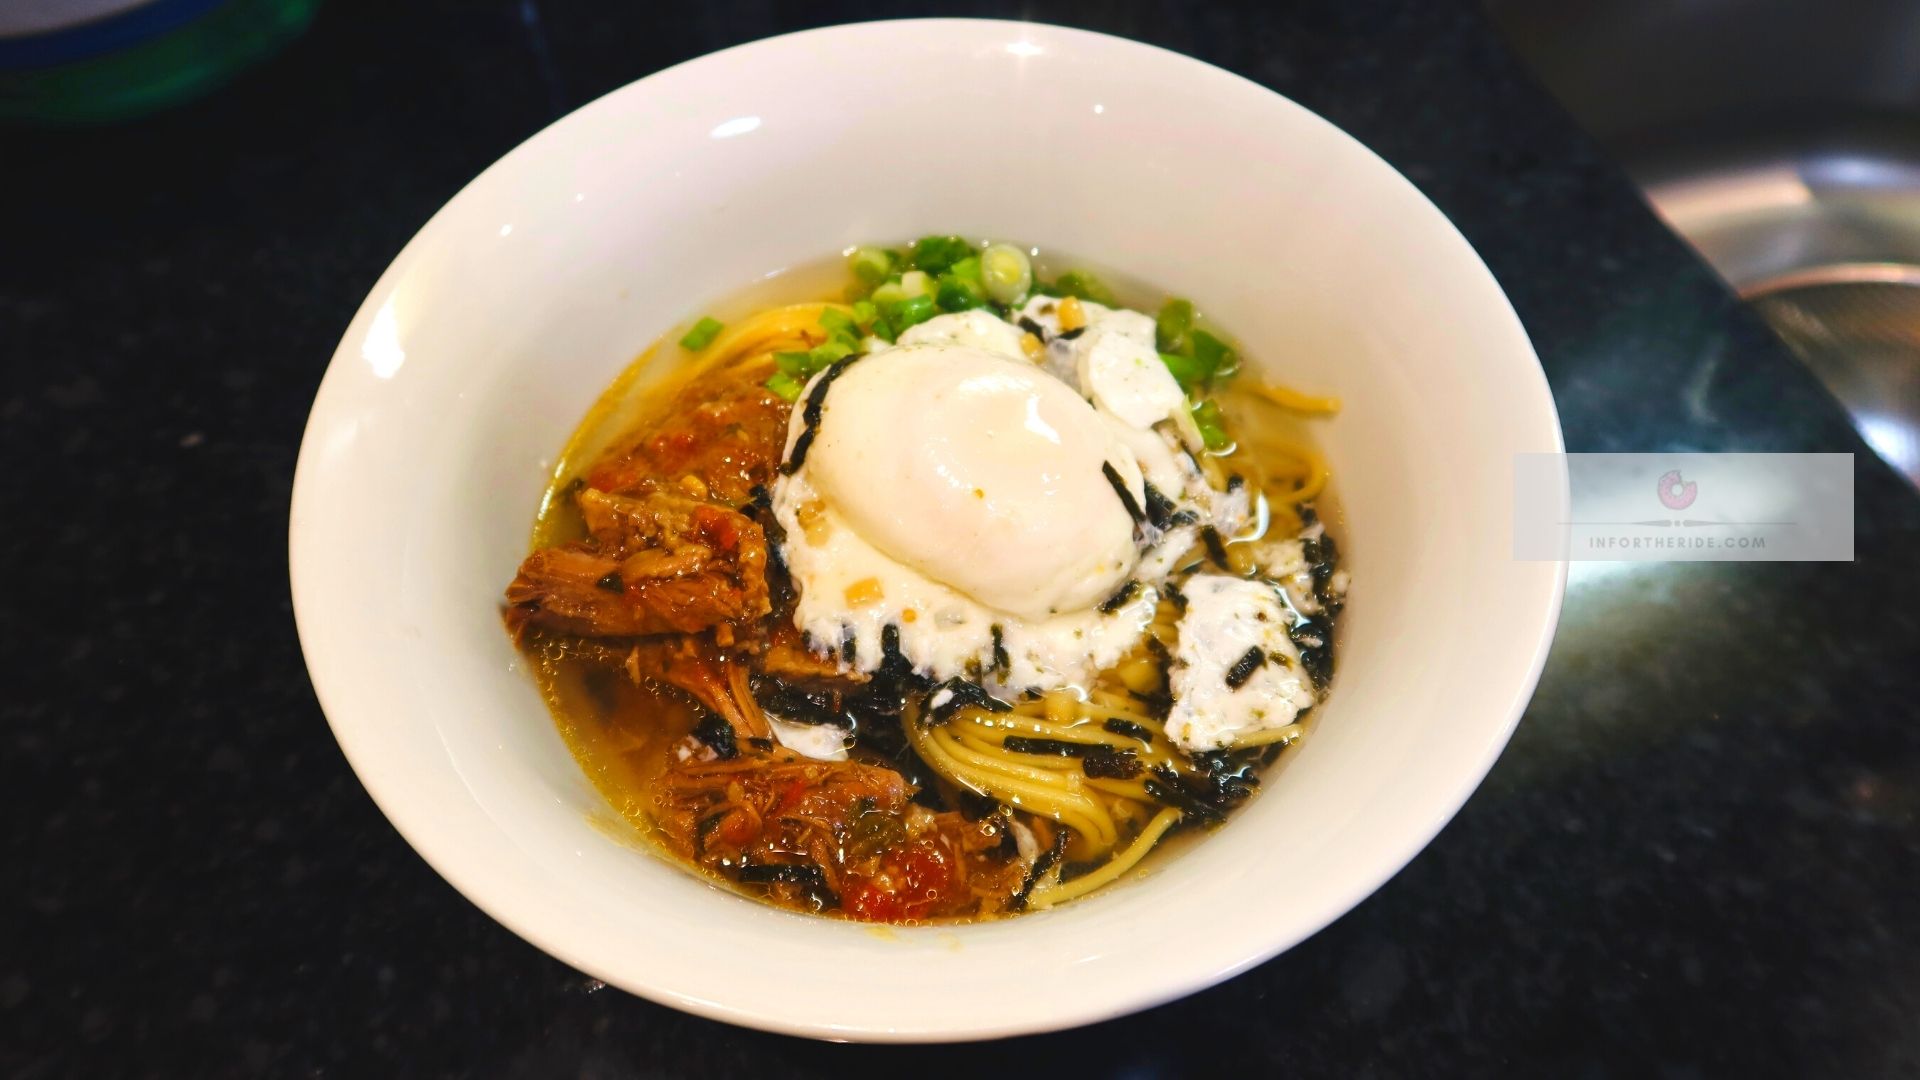
gourmet ramen is also something that i like to eat on the go, not only it's super fast to make, like literally less than 10 minutes, you can also make it the way how you want it to make. my favorite is throw some eggs and some scallions and you're good to go. but other seasoning that i like to add to it too is the japanese rice seasoning called ume-boshi-chazuke ( you can find these at your closest asian store) i know it is made for rice, but there is no harm on using this seasoning to ramen. IT'S.SO.GOOD!


gourmet ramen


so good luck! if you have any questions or video request, please don't forget to leave a comment sections. you can also visit my facebook, instagram and twitter. :)

until next time! xo,s

christmas cookie ideas

happy holidays riders!

here is another yummy baking goods for you! try this easy cookie recipe and enjoy with a cup of coffee or tea! please don't forget to share! :) i hope everyone is staying safe and covid free!

ingredients:

  • 1 cup (2 sticks softened butter)
  • 1/2 cup granulated sugar
  • 1/2 cup brown sugar
  • 1 large egg
  • 1 tsp vanilla extract
  • 1 3/4 cups flour
  • 1 tsp salt
  • 3 tsp baking powder
  • 2 cups of any chocolate chips you prefer

directions:

  1. pre heat the oven to 375F
  2. cream the softened butter into a mixing bowl, then add the granulated sugar and brown sugar, then mix together
  3. add the egg and vanilla extract and combine. then set aside
  4. into a different mixing bowl combine the dry ingredients (flour, salt and baking powder).
  5. then sift the dry ingredients unto the batter and combine. you can use a hand mixer if you prefer
  6. once mixed all together, add the chocolate chips and combine
  7. take at least 2 tbsp of the batter and shape into a small ball
  8. then move the cookie balls into a prepared baking pan lined with parchment paper
  9. bake for 11 to 12 minutes
  10. and enjoy!

please visit our facebook, instagram and twitter for updates!

xo, s

chocolate babka


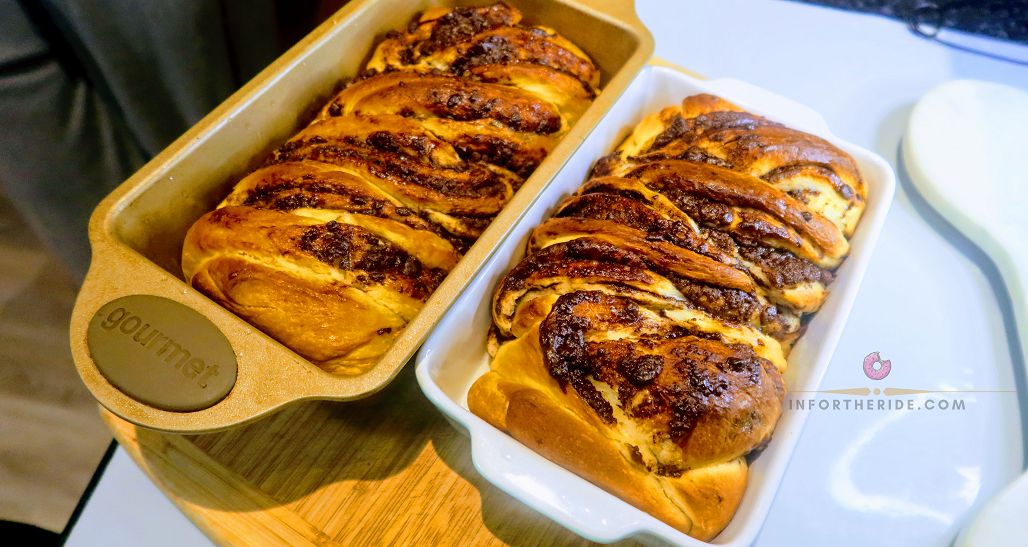
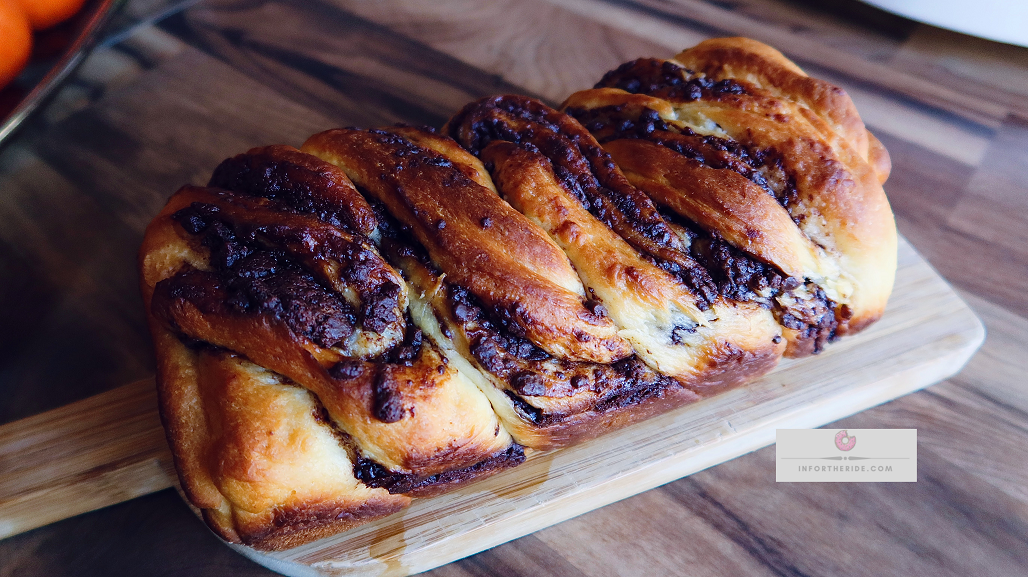
welcome! you are here! try this chocolate babka recipe and if you end up loving it, please don't forget to share! this recipe will make 2 loaves of chocolate babka! enjoy!


babka


ingredients:

  • 3/4 cup warm milk (110f-115f)
  • 1 tbsp sugar
  • 3 tsp active dry yeast
  • 3 1/2 cups all purpose flour
  • 1/2 cup sugar
  • 1 tsp salt
  • 3 eggs
  • 10 tbsp butter (softened)
  • 120 grams dark chocolate
  • 8 tbsp butter (softened)
  • 1/2 cup powdered sugar
  • 1/4 cup sifted flour
  • 1/2 cup sugar(for making syrup)
  • 1/4 cup water (for making syrup)

directions:

  1. into a mixing bowl, add warm milk and sugar together. stir
  2. add the yeast stir and let the yeast rise for 8 to 11 minutes
  3. into a different bowl, combine the dry ingredients, {flour, salt, sugar}. combine and move into a stand mixer
  4. add the eggs
  5. once the yeast is ready, add in into the stand mixer with the dry ingredients and eggs. start kneading until combine
  6. scrape the sides when you need to, this will be a little sticky and that's okay
  7. add the butter and continue kneading the dough
  8. move the dough into a floured surface {dough should be a little sticky}
  9. continue kneading and add flour a tbsp at a time
  10. move into an oiled bowl, cover with damp towel and let the dough rise for at least 2 hours or until doubled in size
  11. while the dough is rising prepare the filling. add the chocolate into  a microwavable bowl, and microwave the chocolate on high stirring every 30 seconds and melted and blended
  12. add the softened butter, the sugar and sifted flour and combine. set aside
  13. when the dough is ready, deflate the dough and move the dough into a floured area
  14. cut the dough into half, then flattened the dough into a rectangular shape
  15. spread the chocolate filling leaving an inch space around the edges
  16. then roll the dough into a log, press each sides towards the center to shorten the log a little
  17. using a sharp knife or a scissors, cut the log into half lengthwise
  18. pinch both ends of the log together and start placing log over the other to create a braided dough
  19. spray the loaf baking pan with an oil, spread some flour
  20. move the braided dough into the baking pan
  21. cover the dough and let it rest for another 30 to 40 minutes
  22. bake to 375f for 25 to 30 minutes or until the toothpick inserted comes out clean
  23. while the dough is in the oven
  24. to make the syrup, simply combine hot water and the sugar. stir
  25. after the bread is done, brush with the syrup while its hot
  26. and enjoy!


chocolate babka


xo,

sai

Subscribe to Vlog