macaroni and cheese ala sai borg


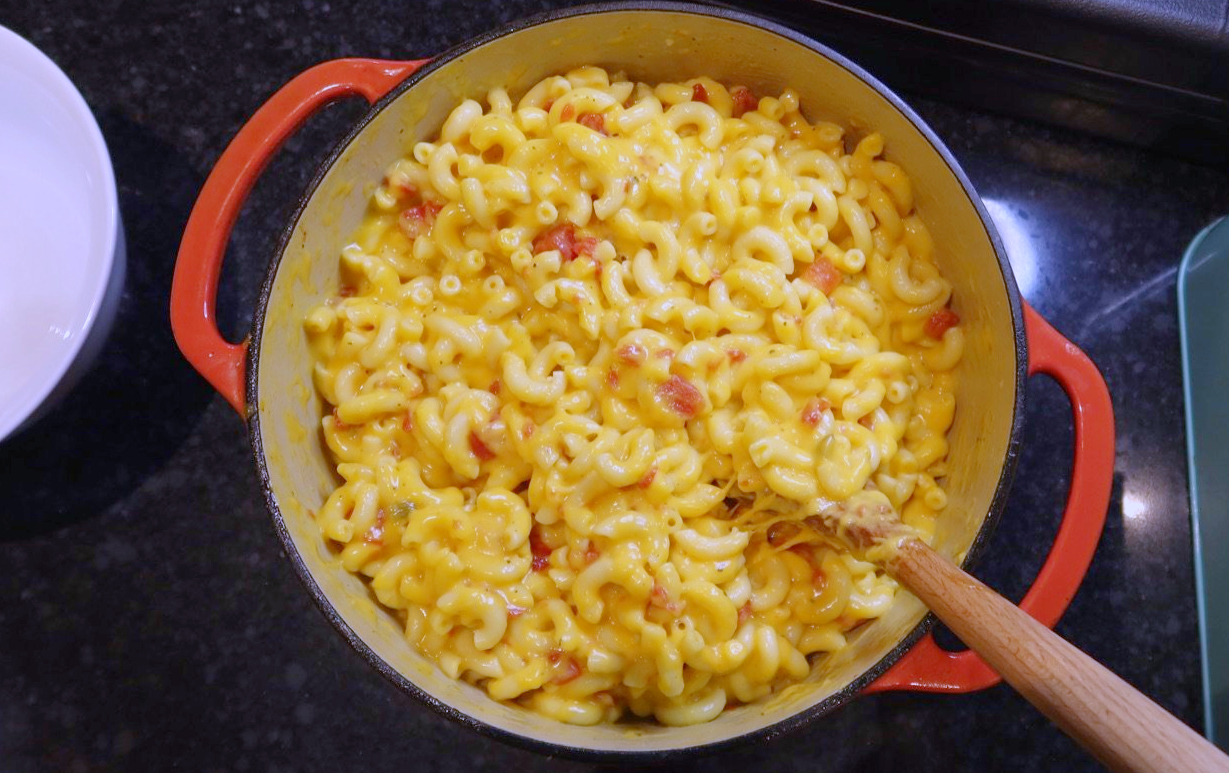
this homemade one pot mac and cheese is one of my husband's favorite dish. he would always brag about how his mom's mac and cheese is the best mac and cheese ever, and that's because she uses really high quality ingredients and she is just great at cooking overall! (i heard she made a clam chowder the other day and i was super jealous, her clam chowder is the best i've ever had) since i cannot top mudra's mac and cheese, i decided to try some mac and cheese recipe that my husband can still enjoy while away from home.

this is just my way of making the mac and cheese, you may like it or may not like it, but i will suggest to give it a try!

this stove top mac and cheese is super easy to make so let's dive in! GOOD LUCK!

ingredients:

  • 1 box elbow macaroni pasta 16oz
  • water (for the pasta)
  • 2 tbsp salt
  • 1 tbsp olive oil
  • 1 lb sharp cheddar cheese
  • 1/2 lb jack cheese
  • 1 rotel tomatoes (diced tomatoes and green chillies)
  • 6 tbsp butter
  • 2 cups whole milk
  • 2 tbsp mustard
  • salt and pepper to taste
  • 2 tbsp cornstarch
  • 1/4 cup water
  • 1/4 cup parmesan cheese

directions:

  1. cook the pasta according to the instructions (you can find the instructions in the back of the pasta box) i'm using an elbow pasta
  2. while the pasta is cooking, prepare the cheese. i'm using sharp cheddar cheese and jack cheese. grinding your own cheese is also the best way to do it. pre shredded cheese usually added with some starch in it to avoid the clumping
  3. once your pasta is done. drain the pasta
  4. add butter into a low heat pot or pan. once the butter is fully melted, add the milk. stir
  5. add the mustard. stir
  6. salt and pepper. stir
  7. then the cheese (leave some cheese, about 1/2 cup for the last part) and the pasta and rotel tomatoes. mix together
  8. add the cornstarch. stir
  9. then add the rest of the cheese. stir
  10. it may look a little watery but that is okay. turn the heat off, cover the pot and let the pot of mac and cheese sit on top of the stove for about 5 to 10 minutes.
  11. then serve and enjoy!


mac and cheese


there you have it. a simple and delicious, super cheesy and creamy macaroni and cheese!

xoxo, s

gourmet hot chocolate


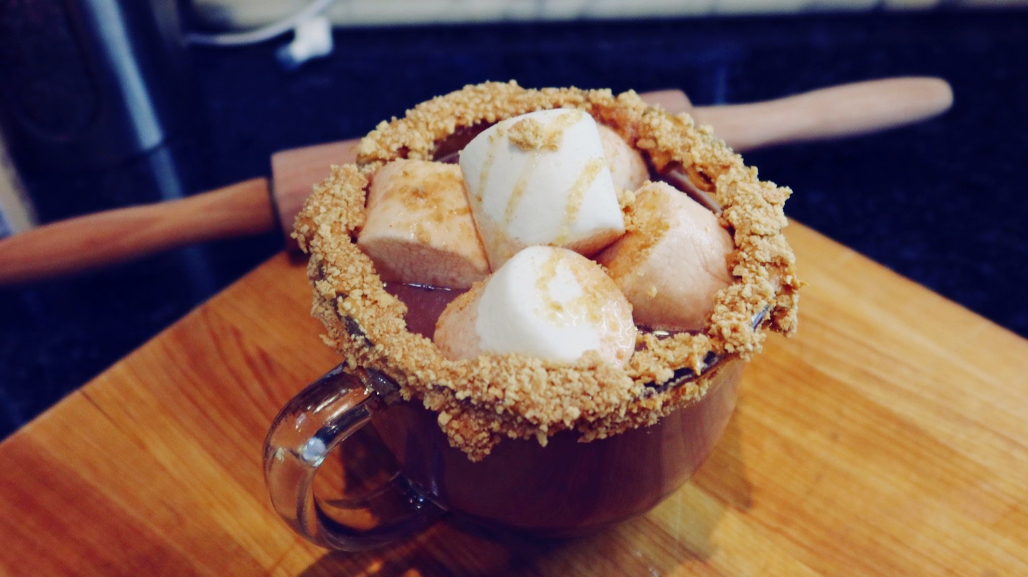
hi riders! today, let's make a gourmet hot chocolate! fall season is my favorite season of the year, i love the sweater weather, the boots with the fur, and of course the hot drinks! :)

and speaking of hot drinks! let's make a gourmet hot chocolate with peanut butter rims! so, GOOD LUCK!

ingredients:

  • milk
  • 2 tbsp of hot chocolate mix
  • peanut butter
  • marshmallows
  • graham crackers
  • chocolate syrup
  • 1 tbsp cocoa powder


chocolate


directions:

  1. crushed your graham cracker into pieces
  2. line your mug with peanut butter
  3. then dip your mug with peanut butter into the crushed graham crackers
  4. then heat your milk using a microwave, or using a stove top, make sure to not burn yourself
  5. then once your milk is hot enough add your chocolate powder or cocoa powder and stir well
  6. pour the hot chocolate into your mug that has a peanut butter rim
  7. add some marshmallows
  8. top with chocolate syrup and sprinkle with some graham crackers
  9. and enjoy!

have a lovely weekend everyone! don't forget to like and subscribe to my youtube channel to get more video recipes!

xo, sai

sugar plum turned 2


11:25 time check 8.0 pounds little girl, huge eyes, staring at me.. i will NEVER forget that day! the most precious thing i have ever laid eyes on!

to my forever love of my life! i love you so so much! we love you so much! just know that mommy and daddy will forever by your side. YOU complete US!

-- mommy and daddy


here are some photos of sugar plum's! ๐Ÿ“๐Ÿ“


sugar
sugar plum's birthday freebies


sugar
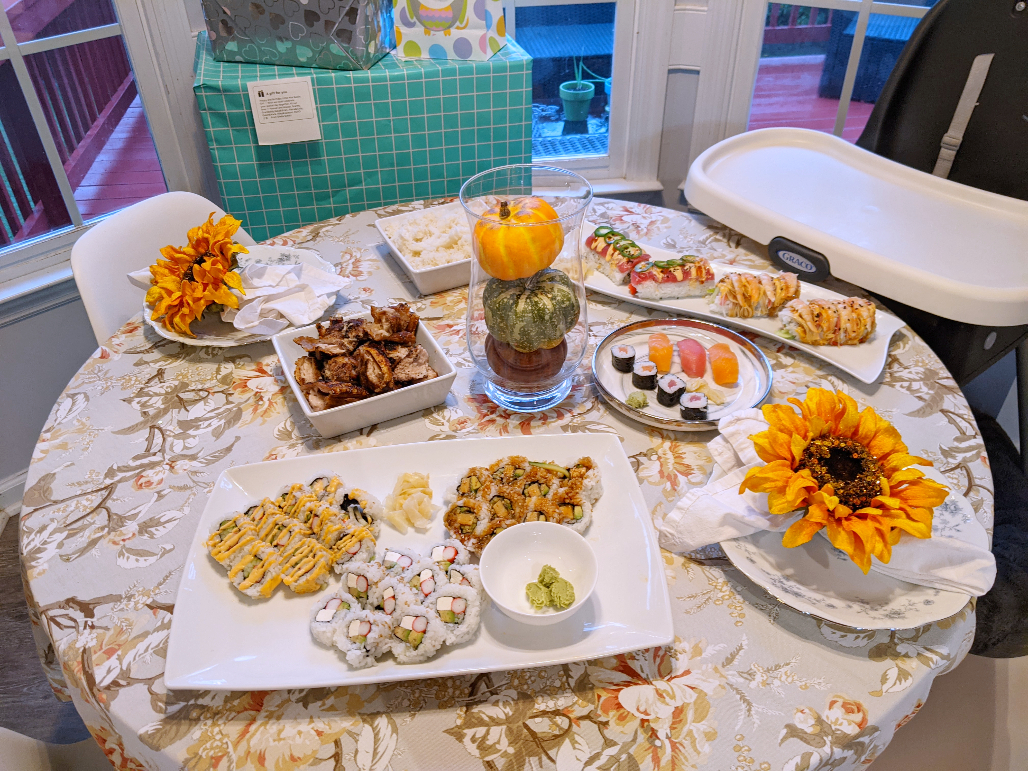
sushi for birthday dinner


sugar
sugar plum's simple birthday decor


sugar
best birthday dinner! good choice sugar plum! :P :P :P


sugar
and she got a horse!


NOTE!!

ALL PHOTOS ARE SUBJECT TO COPYRIGHT! any use or download of these photos without my permission will be charge!


mamon recipe

hi riders!

welcome back! we have another requested recipe! we will be making mamon! it is a filipino version of sponge cake! it is spongy, delicious yet not too sweet! so GOOD LUCK!

ingredients:

  • 1/4 cup water
  • 7 egg yolks
  • 1 1/2 cup granulated sugar
  • 1 tsp vanilla extract
  • 1/2 vegetable oil
  • 2 1/2 cake flour
  • 3 tsp baking powder
  • 1/2 cup orange juice
  • 1 tsp cream of tartar
  • 7 egg whites

directions:

  1. pre heat the oven to 350F
  2. line the tin molds with baking cups
  3. beat the egg whites for 1 minute, add the cream of tartar, beat for another minute, add the 1/4 cup of sugar, beat again for another minute, then add another 1/4 cup of sugar and beat until stiff peaks form. set aside
  4. into a different mixing bowl, combine the wet ingredients, 1/2 cup sugar, egg yolks, orange juice, water and the vegetable oil. mix well until a little frothy
  5. add the flour, the remaining sugar and the baking powder into the wet ingredients. combine and add the vanilla extract and continue to mix until completely incorporated. do not over mixed!
  6. add half of the egg whites into the batter and fold slowly. then add the remaining half of the egg whites and slowly fold until well combine. again do not over mixed
  7. fill up the tin mold about 3/4 full
  8. bake to 18 to 20 minutes or until the toothpick inserted comes out clean
  9. sprinkle with grated cheese
  10. and enjoy!


mamon


if you end up making this recipe, please tag me on my facebook, i would love to see them! happy baking! <3

xo, sai


links to my previous videos:

bibimbap https://youtu.be/dD1h8qoLscI

pepper steak https://youtu.be/BLHQWz7Lh5Q

siopao https://youtu.be/Cv7I7NU4ktU

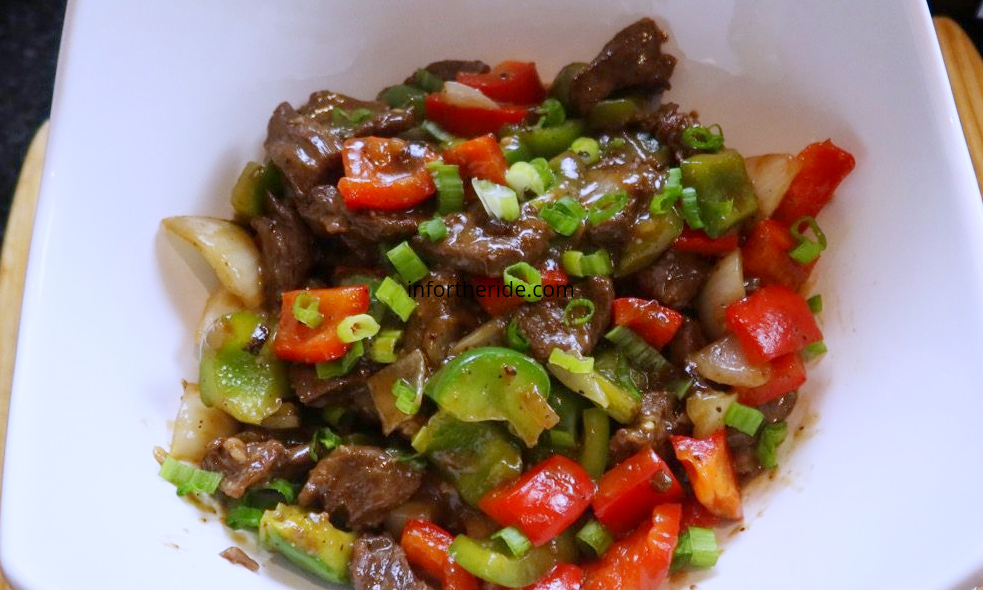
pepper steak


happy friday to all my beautiful readers/viewers! --meaning, new video is up! :)

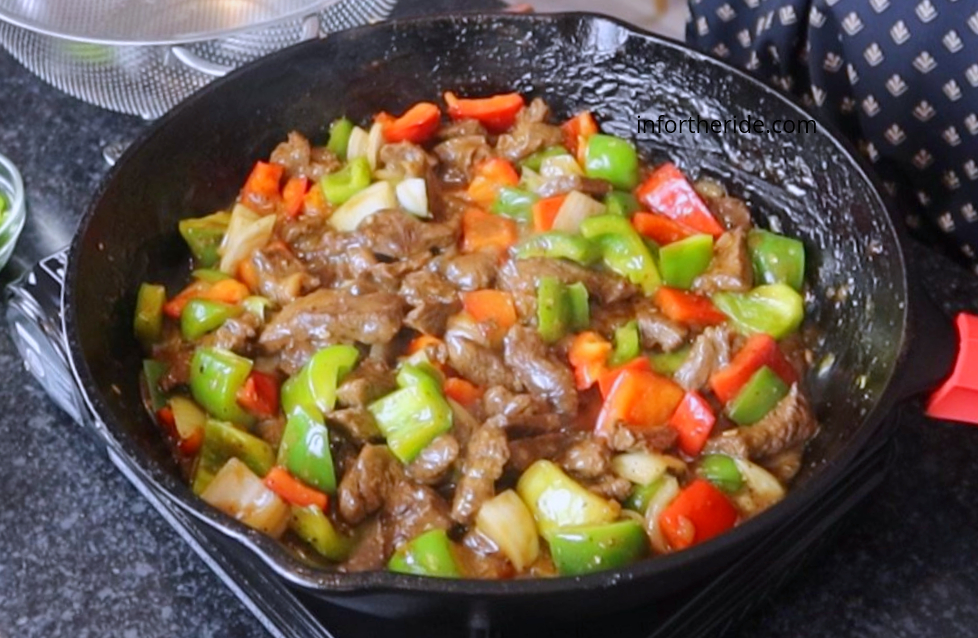
today, we will be making a pepper steak. it is fast and easy recipe! who does have time to wait? make this delicious pepper steak in just minutes! pair this dish with rice for a powerful yummy combination, or you can wrap the pepper steak with lettuce! and the best part, if you are vegetarian, you can replace the steak with tofu or any veggie meat that you like. so, GOOD LUCK!


pepper steak

ingredients:

  • 1 medium red bell pepper
  • 1 medium green bell pepper
  • 1 medium onions
  • 1 cup chopped scallions (green onions)
  • 2 tbsp soy sauce
  • 2 tbsp vinegar
  • 1 tbsp cornstarch
  • 1 tbsp brown sugar
  • 1 pound ribeye steak (or steak cut you prefer)
  • 1/2 cup water
  • 1 knorr cubes
  • 2 tsp sesame oil (total)
  • salt and pepper to taste
  • minced garlic
  • chopped onions
  • 1 tablespoon vegetable oil (or any oil you prefer) i'm using lard in the video

directions:

  1. start with marinating the steak
  2. into a bowl, add the soy sauce, vinegar, a sprinkle of scallions, brown sugar, cornstarch, knorr cubes, water, garlic, onions, 1 tsp sesame oil, salt and pepper. mix well
  3. cover with plastic wrap and let the steak marinade in the refrigerate for 30 minutes
  4. after 30 minutes, you are ready to cook. heat the pan into medium high
  5. add oil
  6. once the oil is hot enough add the steak, let the steak cook for about 4 to 5 minutes. if you are using a different cut of steak, cook the meat until it's fully cooked
  7. add the marinated sauce and stir occasionally until the sauce is thickened
  8. add the remaining sesame oil
  9. add more ground black pepper (according to your taste)
  10. lastly, add the vegetables (green bell peppers, green bell peppers and onion)
  11. cook the vegetables to your likeness
  12. sprinkle with scallions for garnish
  13. and served!

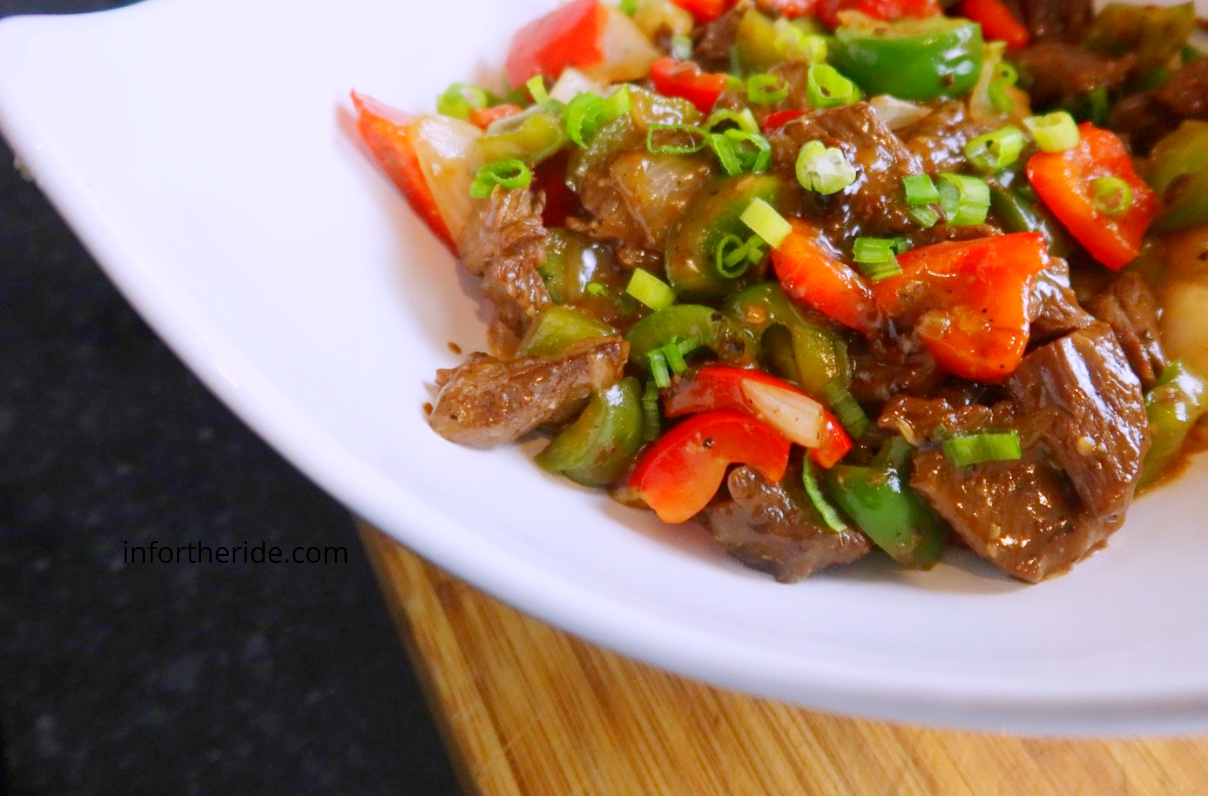
pepper steak


everyone in the house approved this recipe! so i hope you guys will like it, too! feel free to add spicy sauce to the dish if you like the taste of spice!

happy cooking!

xo,s


pepper steak


labor day 2020

it's labor day!

we used to host dinner at our house, but since covid, we still try to celebrate occasions even with just by ourselves! on labor day, we grilled some brats and just hang out in our front yard. it was over all great day!

the video shows how we celebrated the labor day 2020!

i love documenting my life. something fun to look back when i'm 60. or, something YOU can look at, when i'm gone! :P

love you! xo, s

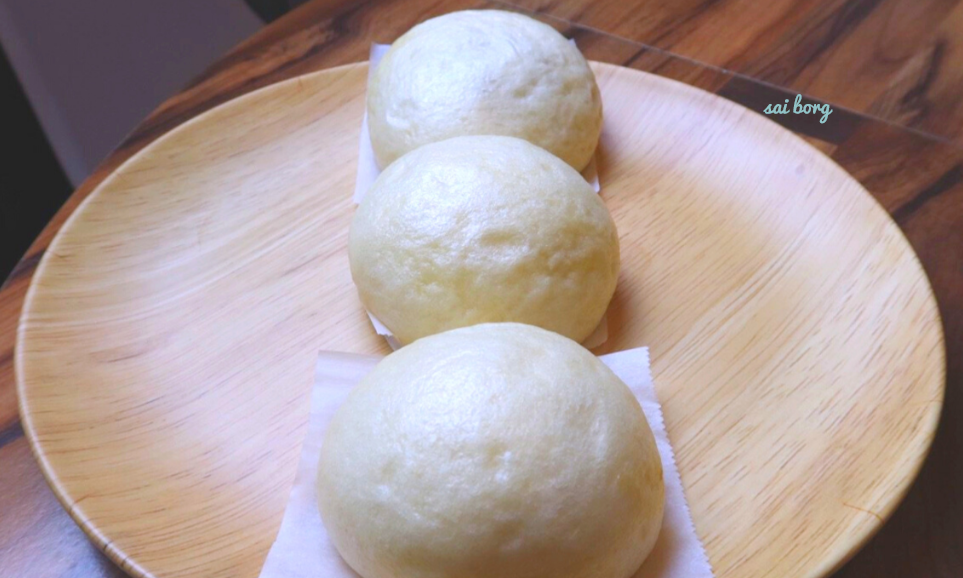
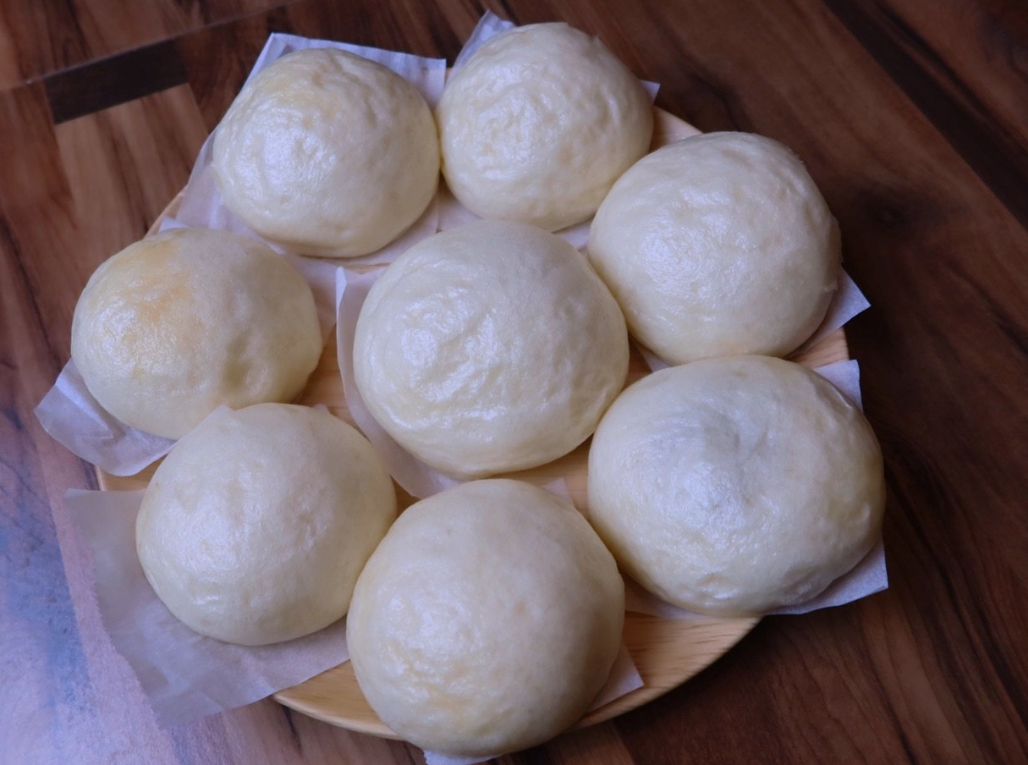
siopao | steamed bun

it's friday! that means new video is up!

this video recipe is requested by a good friend of mine, zwinglai! if you google "siopao" you can find a million of recipes online, i've tried quite a few times making siopao but it does not taste the same as to how it taste like the siopao i remember. i began to feel like they are hiding the "secret" ingredient. i also tried making changes such us adding some vanilla extract, or using bread flour instead of all purpose, using a butter instead of vegetable oil but the result is still not the same. so i gave up!

but when my friend requested the recipe, i thought i should give it a go. so, i tried playing around with the ingredients, and with just one attempt, i finally was able to make it perfect! so, i am going to reveal some ingredients that i used with you guys!

siopao means "hot buns" it is similar to the cantonese steamed bun called cha siu bao. i'm pretty sure most countries has different versions of siopao. we don't bake siopao, we steam it. there is also a sauce for siopao, however, i decided to make the filling more saucy so we can go ahead and forget about the sauce. as a mom, my time is super limited. :)

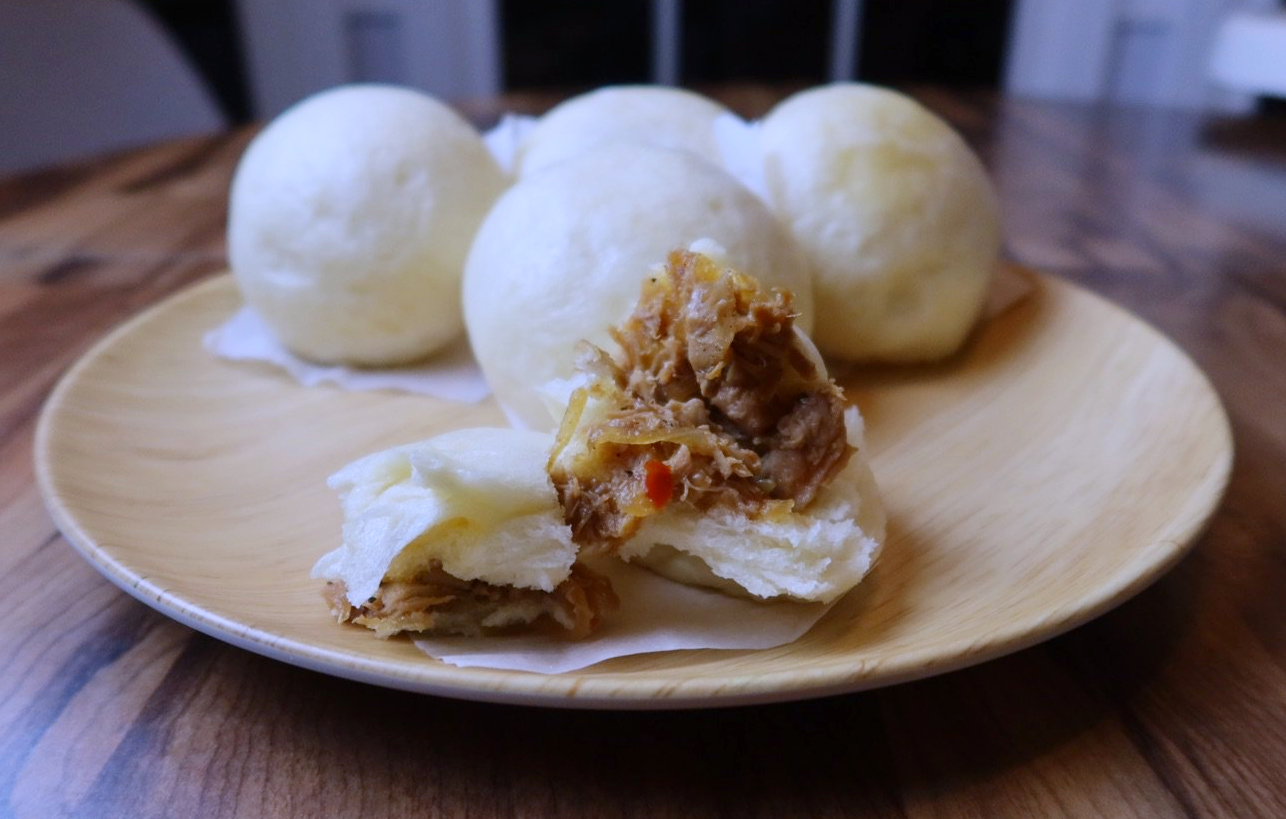
you can absolutely use any fillings you prefer! my personal favorite is adobo (here is the link for my adobo recipe.) but i will show you the fillings i used in this recipe.

i suggest you follow my recipe without substitutions. if you substitute any of them, i am not sure how it will turn out. so, below are some of the quick tips i can give you to make the siopao.

  1. flour- wheat flour is the key! you can check your asian grocery store and find the korean brand of wheat flour. it is the same flour you use to make dumplings, or ramen noodles
  2. pork lard- ditch the vegetable oil or butter. go to your nearest mexican grocery store and grab some pork lard. this will help change the consistency of the dough
  3. milk- instead of water, use milk. just do it. :)

so, GOOD LUCK!


siopao


ingredients:

  • 2 cups lukewarm milk (about 115f to 120)
  • 1 tbsp granulated sugar (for yeast mixture)
  • 2 1/2 tsp active dry yeast
  • 5 cups wheat flour (more for dusting)
  • 1/2 cup granulated sugar (for flour mixture)
  • 1 1/2 tbsp baking powder
  • 1/3 cup pork lard

for the filling:

  • 1 tbsp vegetable oil
  • 1/2 chopped onions
  • 1 tbsp chopped garlic
  • 1 cup cooked shredded chicken
  • 1 tbsp vinegar
  • 1 tbsp soy sauce
  • 2 tbsp oyster sauce
  • salt and pepper to taste
  • 2 tbsp sweet chili sauce


siopao


directions:

  1. into a mixing bow, add the lukewarm milk, sugar and yeast. combine and set aside.
  2. into a different bowl, combine the flour, sugar, baking powder and mix
  3. then add the pork lard and combine
  4. move the dough into a clean surface and start kneading the dough until soft and smooth. if the dough is super sticky add more flour 1 tbsp at a time
  5. shape the dough into a ball and place the dough into an oiled bowl
  6. cover with plastic wrap and let the dough rise for 1 hour or so, or until doubled in size
  7. at this point we will make the filling
  8. into a hot skillet, add the vegetable oil
  9. then, saute the onion and garlic
  10. once the onion turns transparent you can add the chicken then mix
  11. add the vinegar, soy sauce and oyster sauce then combine
  12. add salt and pepper to taste (be careful adding the salt as we already added soy sauce to it
  13. then add the sweet chili sauce and continue to mix until thickened but not too dry
  14. move the filling into a bowl and let it cool down
  15. cut the dough into small portions, you will make 16 pieces of siopao for this recipe
  16. flatten the dough, then add the filling
  17. secure the dough nice and tight to make sure it wont open up while it's cooking
  18. lay the dough on top of a parchment paper
  19. and repeat the process until you finished
  20. add the siopao into the steamer
  21. steam for 15 minutes
  22. and enjoy!


siopao


i hope you will enjoy this recipe! please leave a comment below if you have any questions! see you in my next blog!


xo,
S

check out my previous recipes:

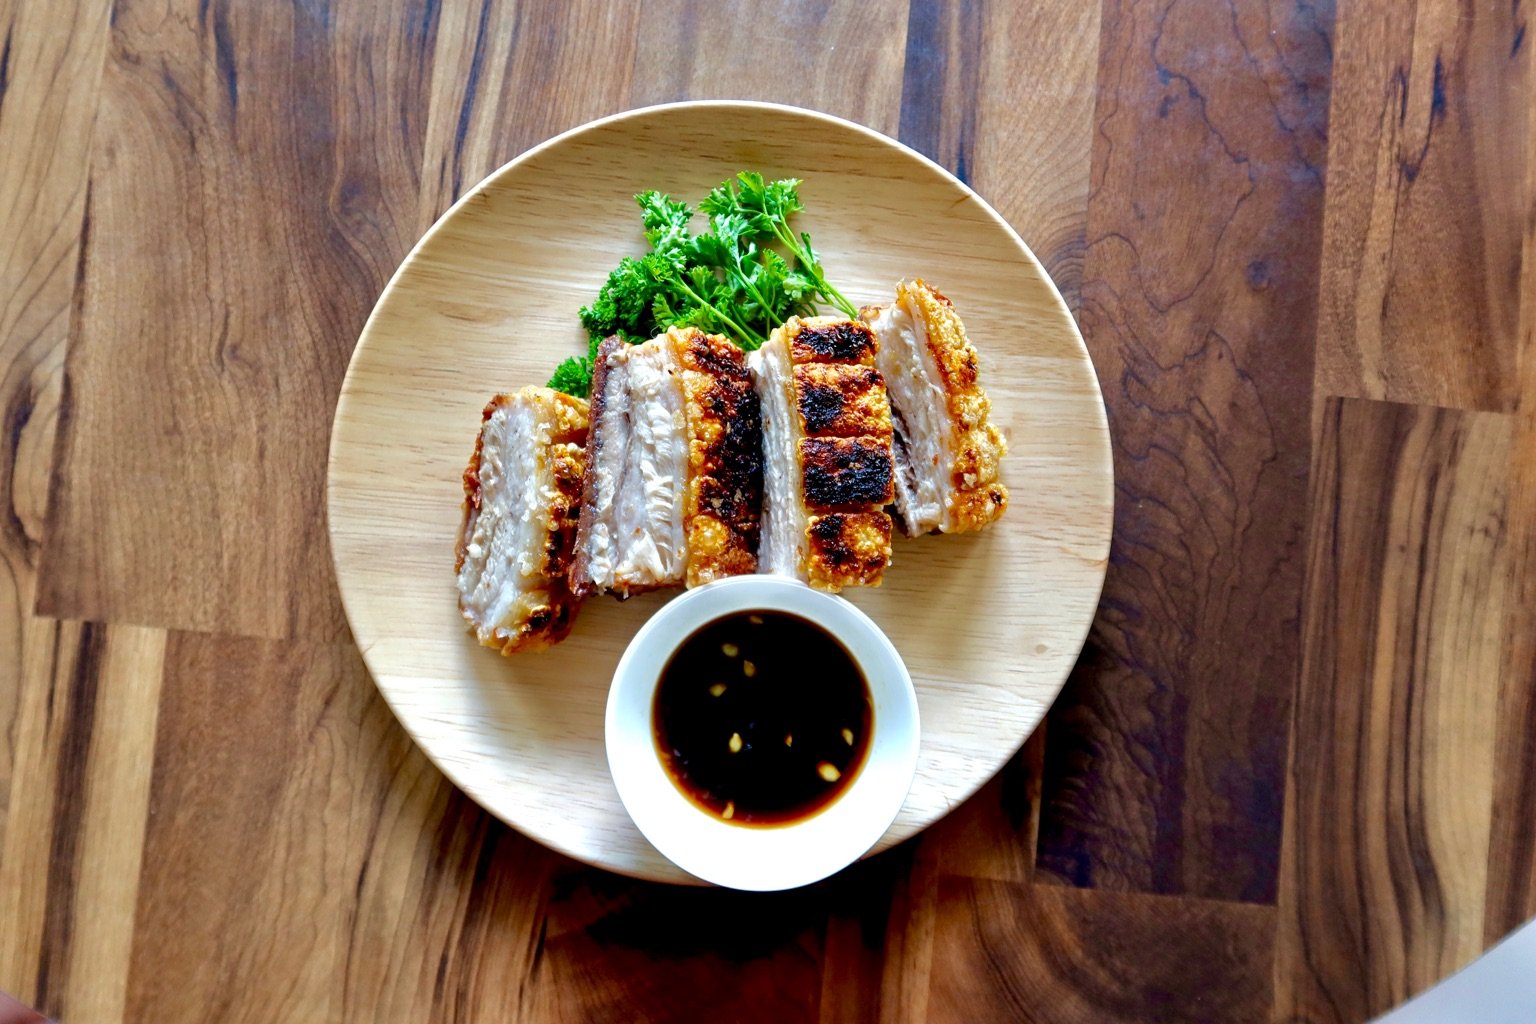
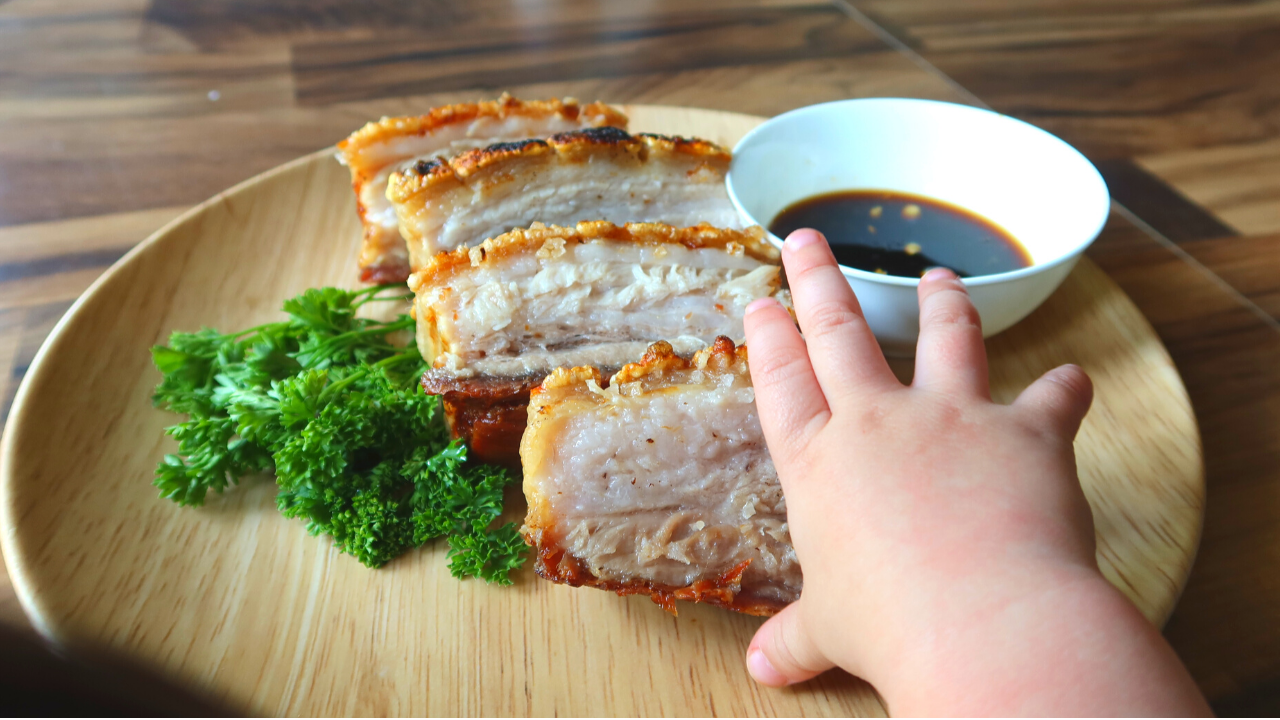
crispy pork belly


hi! welcome back! today, i will teach you how to make crispy yummy pork belly, you do not need anything special for this pork belly to turn out so delicious! all you need is a nice cut of pork belly, an oil and salt, a lot of salt! so, GOOD LUCK!

ingredients:

  • 1 slab of pork belly
  • salt
  • vegetable oil


pork belly


directions: video directions for pork belly

  1. preheat the oven to 350F
  2. make sure you tap dry the pork belly after washing with cold water. dry, dry, dry
  3. make a slice into the fat part of the pork, this way it wont explode while inside the oven,
  4. massage oil all over the pork belly
  5. then add salt, a generous amount of salt is what you want to have a crispy pork belly skin
  6. bake for 1 hour and 20 minutes
  7. then turn the oven off, and hit the broil settings to hi
  8. broil for 2 minutes and you're done (keep an eye on the pork so you wont burn it)
  9. enjoy!


pork belly


for the sauce:

  • cut some calamansi, this is highly recommended! however if you don't have calamansi, use a lime
  • add some soy sauce and mix together

don't forget your rice! they make a perfect meal together. you can also pair this with steamed okra! yum!!!

i will see you in my next blog! thank you for coming and please stay safe!

xo,
S

cookies and cream ice cream


another ice cream recipe for everyone! these ingredients never gets old. i have different flavors of ice cream that you can fine here https://youtube.com/infortheride . this recipe only requires 4 ingredients, with no machine needed, literally take a couple of minutes to make, the waiting is the only bummer. :) so, GOOD LUCK!

ingredients:

  • 2 cups heavy whipping cream
  • 3/4 can condensed milk
  • 1 teaspoon vanilla extract
  • 1 cup or more oreo cookies (or more)

directions: (video here: https://youtu.be/v1qxUBl-Mjs )

  1. in a mixing bowl, add the heavy whipping cream, whip until soft peak form
  2. add the condensed milk and vanilla extract and mix again
  3. lastly, add the oreo cookies crumbs (including the filling: optional) and combine slowly
  4. place in a container and refrigerate for at least 6 hours or overnight
  5. enjoy!

this ice cream recipes are really easy and delicious! perfect treat for summer heat!

i hope you enjoy this recipe and see in my next blog!

xo, s


previous blog:

cream biscuits https://youtu.be/yUFeuV9pEmM

soft bread loaf https://youtu.be/GqQftSmpSSo

banana cupcakes https://youtu.be/4Sf8rwFv-yM


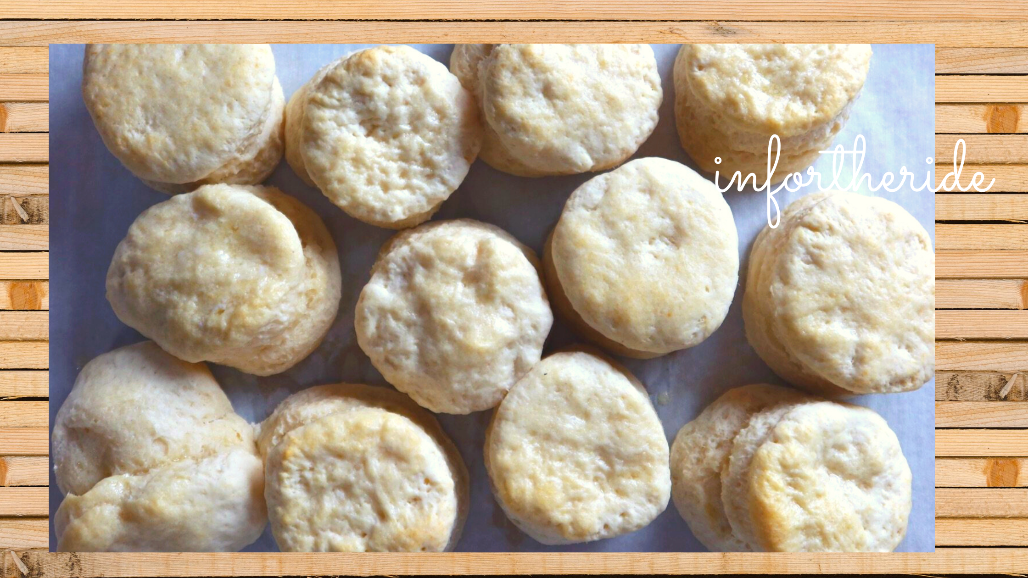
3 ingredient biscuits | cream biscuits


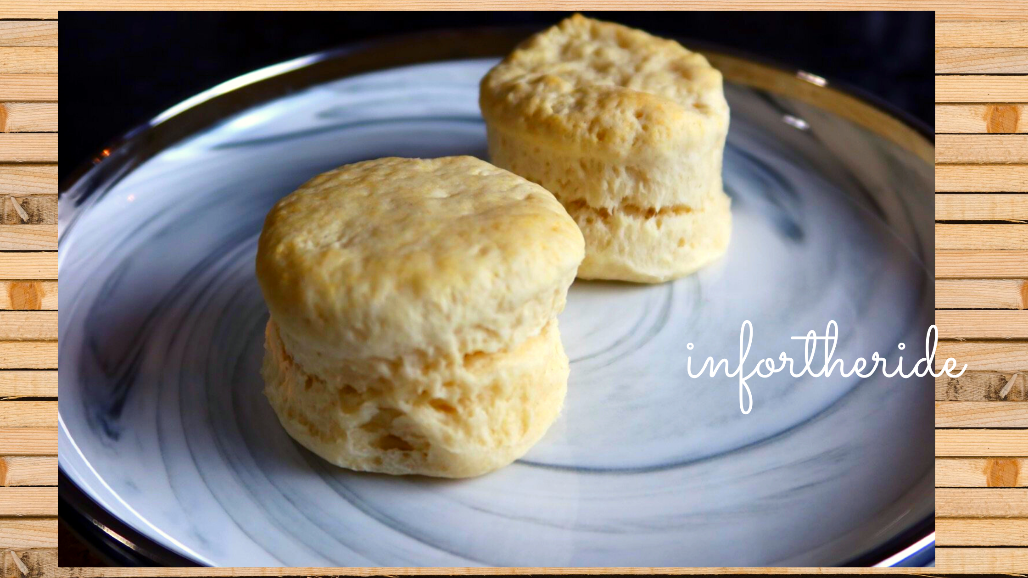
i didn't know it is possible to make biscuits with just 3 ingredients! it is surprisingly easy and fast. all you need to have is the southern biscuits self rising flour with the 2 other ingredients and you will end up having a delicious, yummy, soft and good biscuits. i actually just followed the recipes printed at the back of the packaging, it comes with 3 different recipes of biscuits which i will definitely try making soon. so GOOD LUCK!


biscuits


list of ingredients:

  • 2 cups self rising flour
  • 1 tablespoon granulated sugar
  • 1 cup heavy whipping cream

directions: (you can watch the video recipe here:

  1. pre heat the oven to 450F
  2. into a mixing bowl, combine the self rising flour and sugar
  3. add the heavy whipping cream. mix well
  4. continue kneading the dough. dough will be stiff
  5. roll the dough about 1/2 inch think
  6. cut the dough using a biscuit cutter. i don't own one so i used the jar glass mouth to cut the biscuit
  7. spray your baking pan with oil, or use a parchment paper
  8. place the biscuits into the prepared baking pan
  9. bake the biscuits for 20 to 12 minutes or until the top turns golden brown
  10. apply butter on top
  11. and serve!


biscuits


thank you for coming back! love you!

p.s

you might noticed my biscuits doesn't look golden brown is because i plan to freeze them, and i will bake the biscuits more when i plan to consume them. :)

happy baking!


Subscribe to Vlog